How to Use HennaLounge Presets
6 ways to use filters in your photography
Henna artists face some unique challenges when it comes to photography. While sometimes it can be great to collaborate with a photographer, they don’t always capture our henna the way we envision it. And waiting weeks or months for photos is, frankly, excruciating. Because I’m a pretty impatient person, and I have strong ideas about the mood of my photos, I have been doing my own photoshoots and “advanced selfies” for years. I found that editing shoots was getting to be a bit of a drag, so I built my own presets (filters) to use with my (and your!) photos. This helps me keep a consistent look in my images, saves me hundreds or hours of editing, and solves the most common problems I’ve experienced as a henna photographer. It also enables me to create a variety of inspiring “moods” with just one click.
Before we get started, I want to do a little myth-busting. When someone says “no filter” or “un-edited”, they aren’t quite telling the truth (they just don’t know the truth). If you shoot with your phone, or even with most cameras, your phone or camera’s software is already doing some pre-editing for you to make a more pleasing range of saturated colors and white balance. So when someone says “oh, my phone camera is great”, they’re really saying “my phone camera has a great jpeg processing algorithm”. Every image that comes out of your phone or camera is edited/filtered, even if you didn’t touch it. But even these automatic edits don’t always give us the results we are looking for, and that’s when manual editing and filters/presets come into play, and you’ve undoubtedly played with Instagram’s filters or apps like Snapseed. More experienced photographers will usually shoot in RAW, which has no preliminary adjustments at all. RAW images are characteristically flat and dull, and editing is necessary to bring the scene to life. RAW images have not yet been adjusted for contrast, white balance, saturation, tint, sharpness, smoothness, etc… In the following photos, you’ll see my RAW images on the left, and the edited version on the right. All edits are done with HennaLounge Presets, which are Lightroom-compatible filters. You will need Lightroom CC or Lightroom mobile app to use them.
Let’s get started!
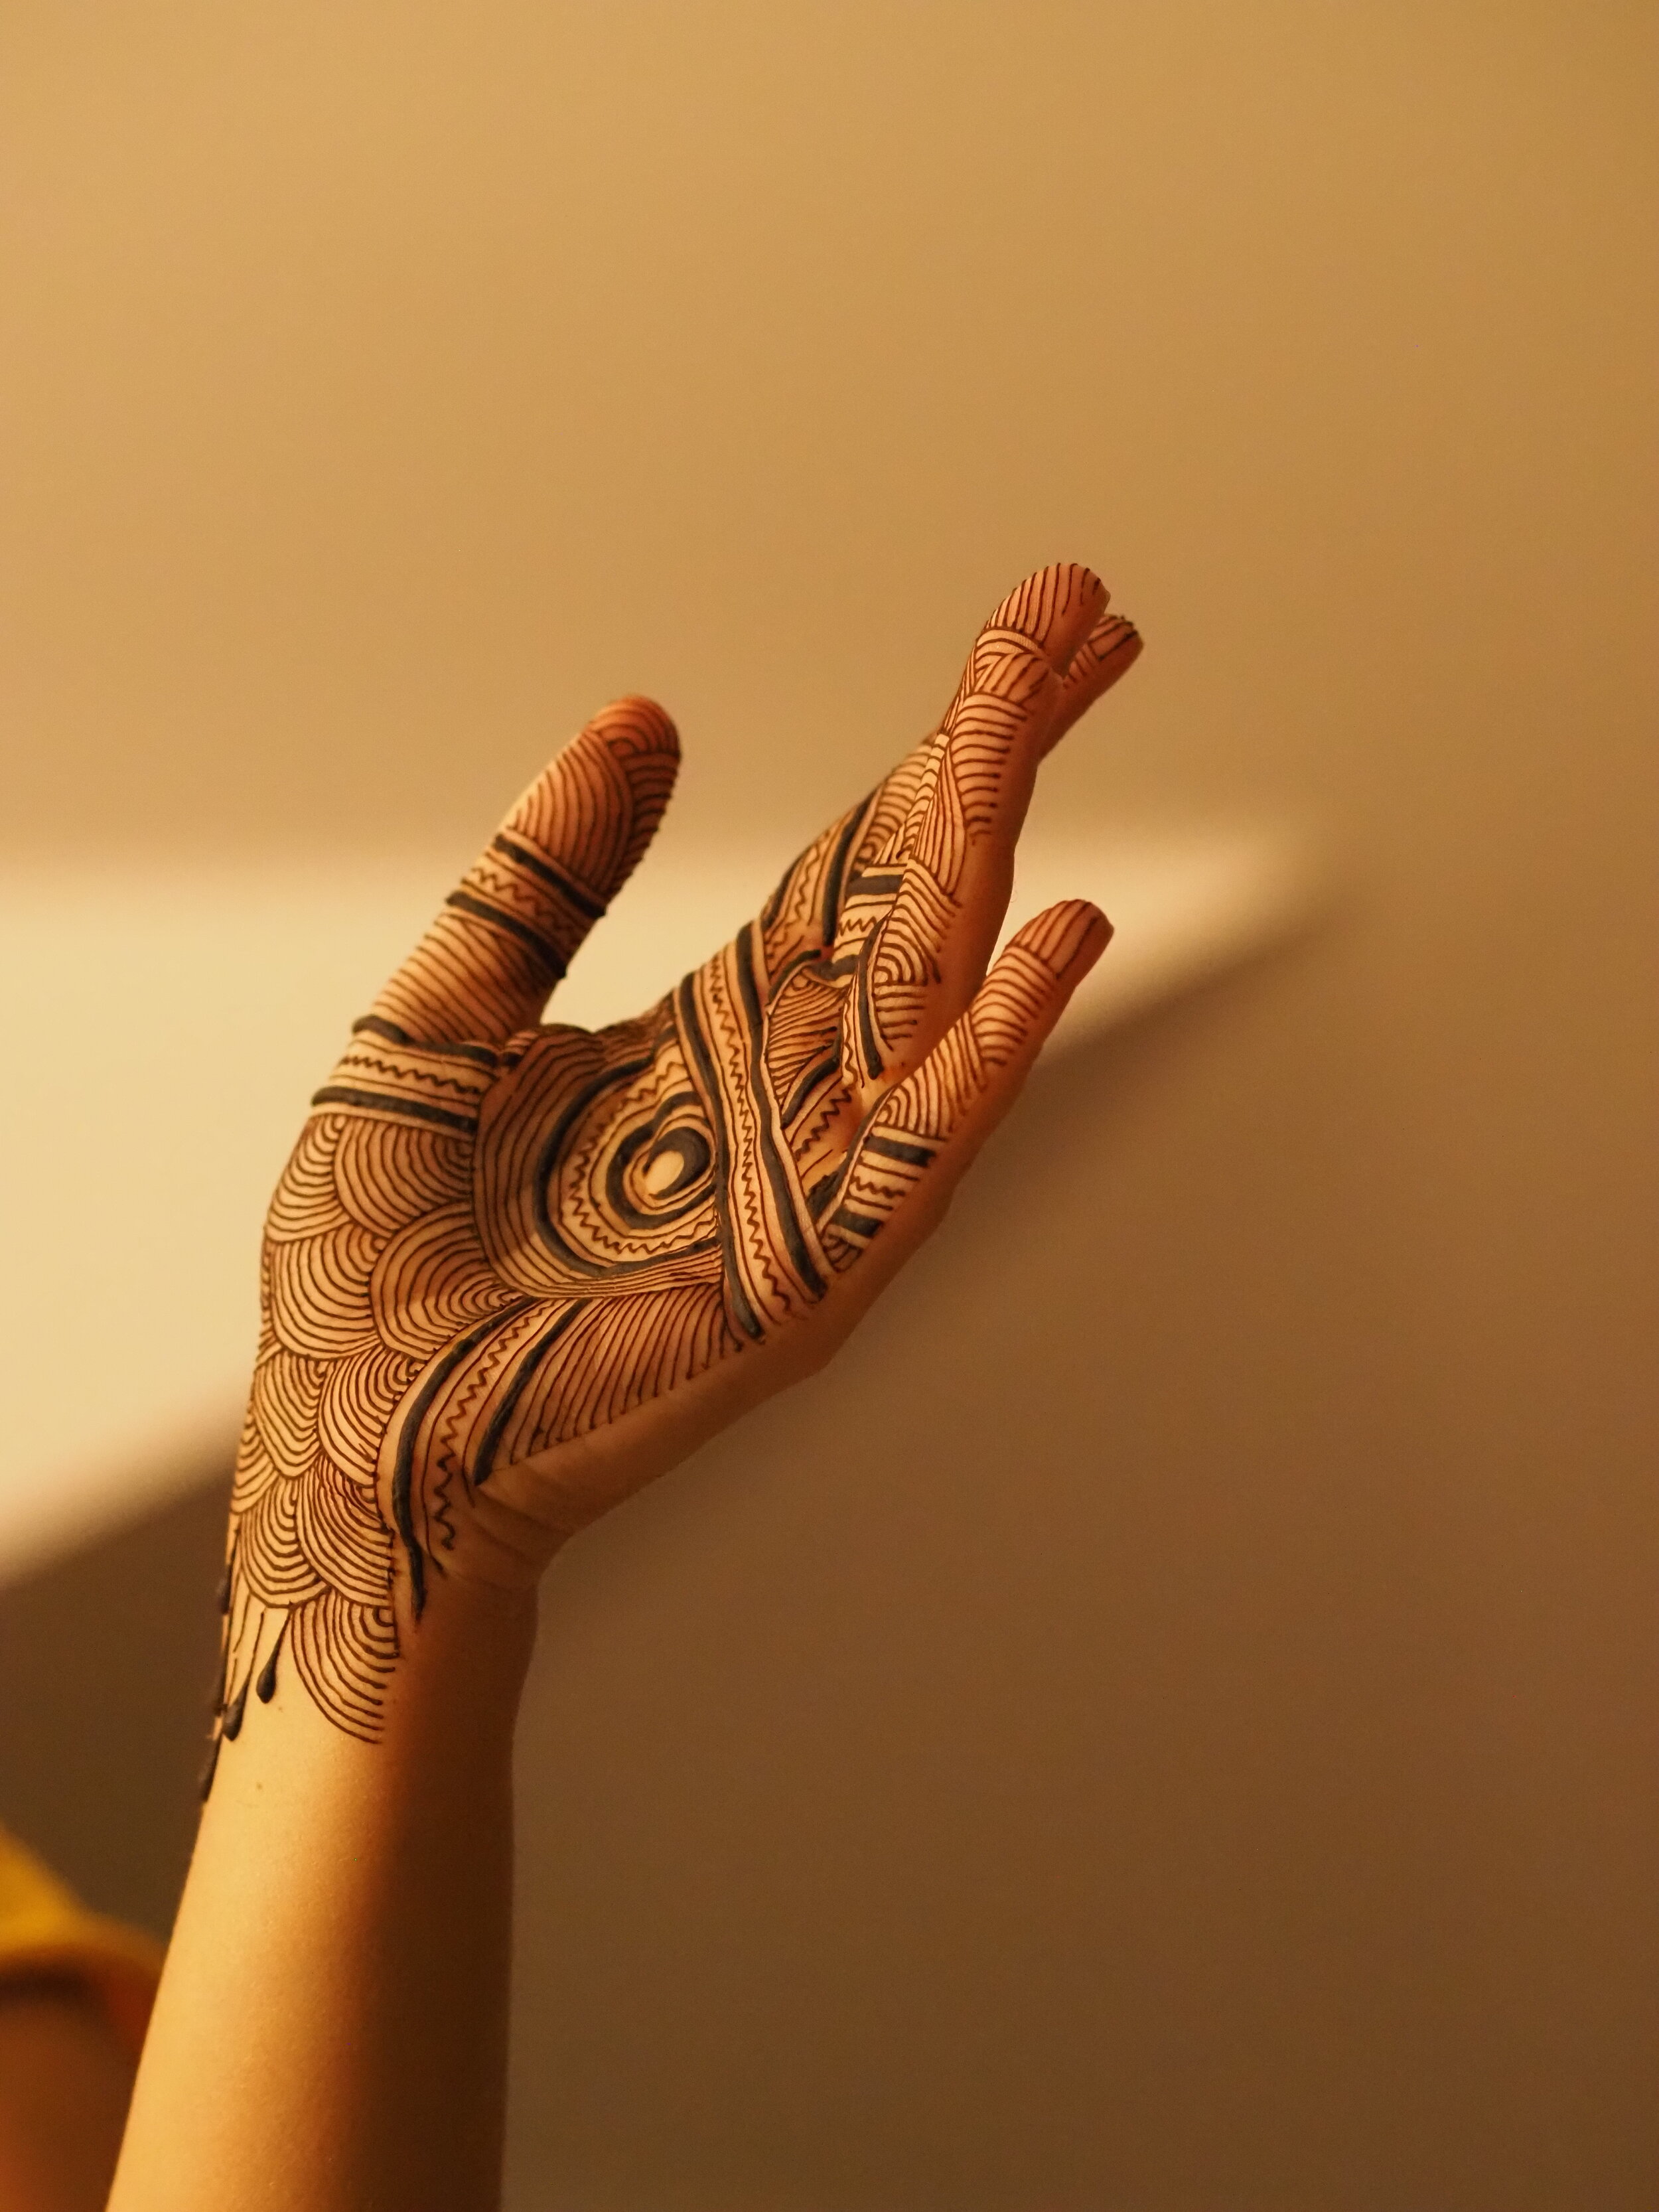
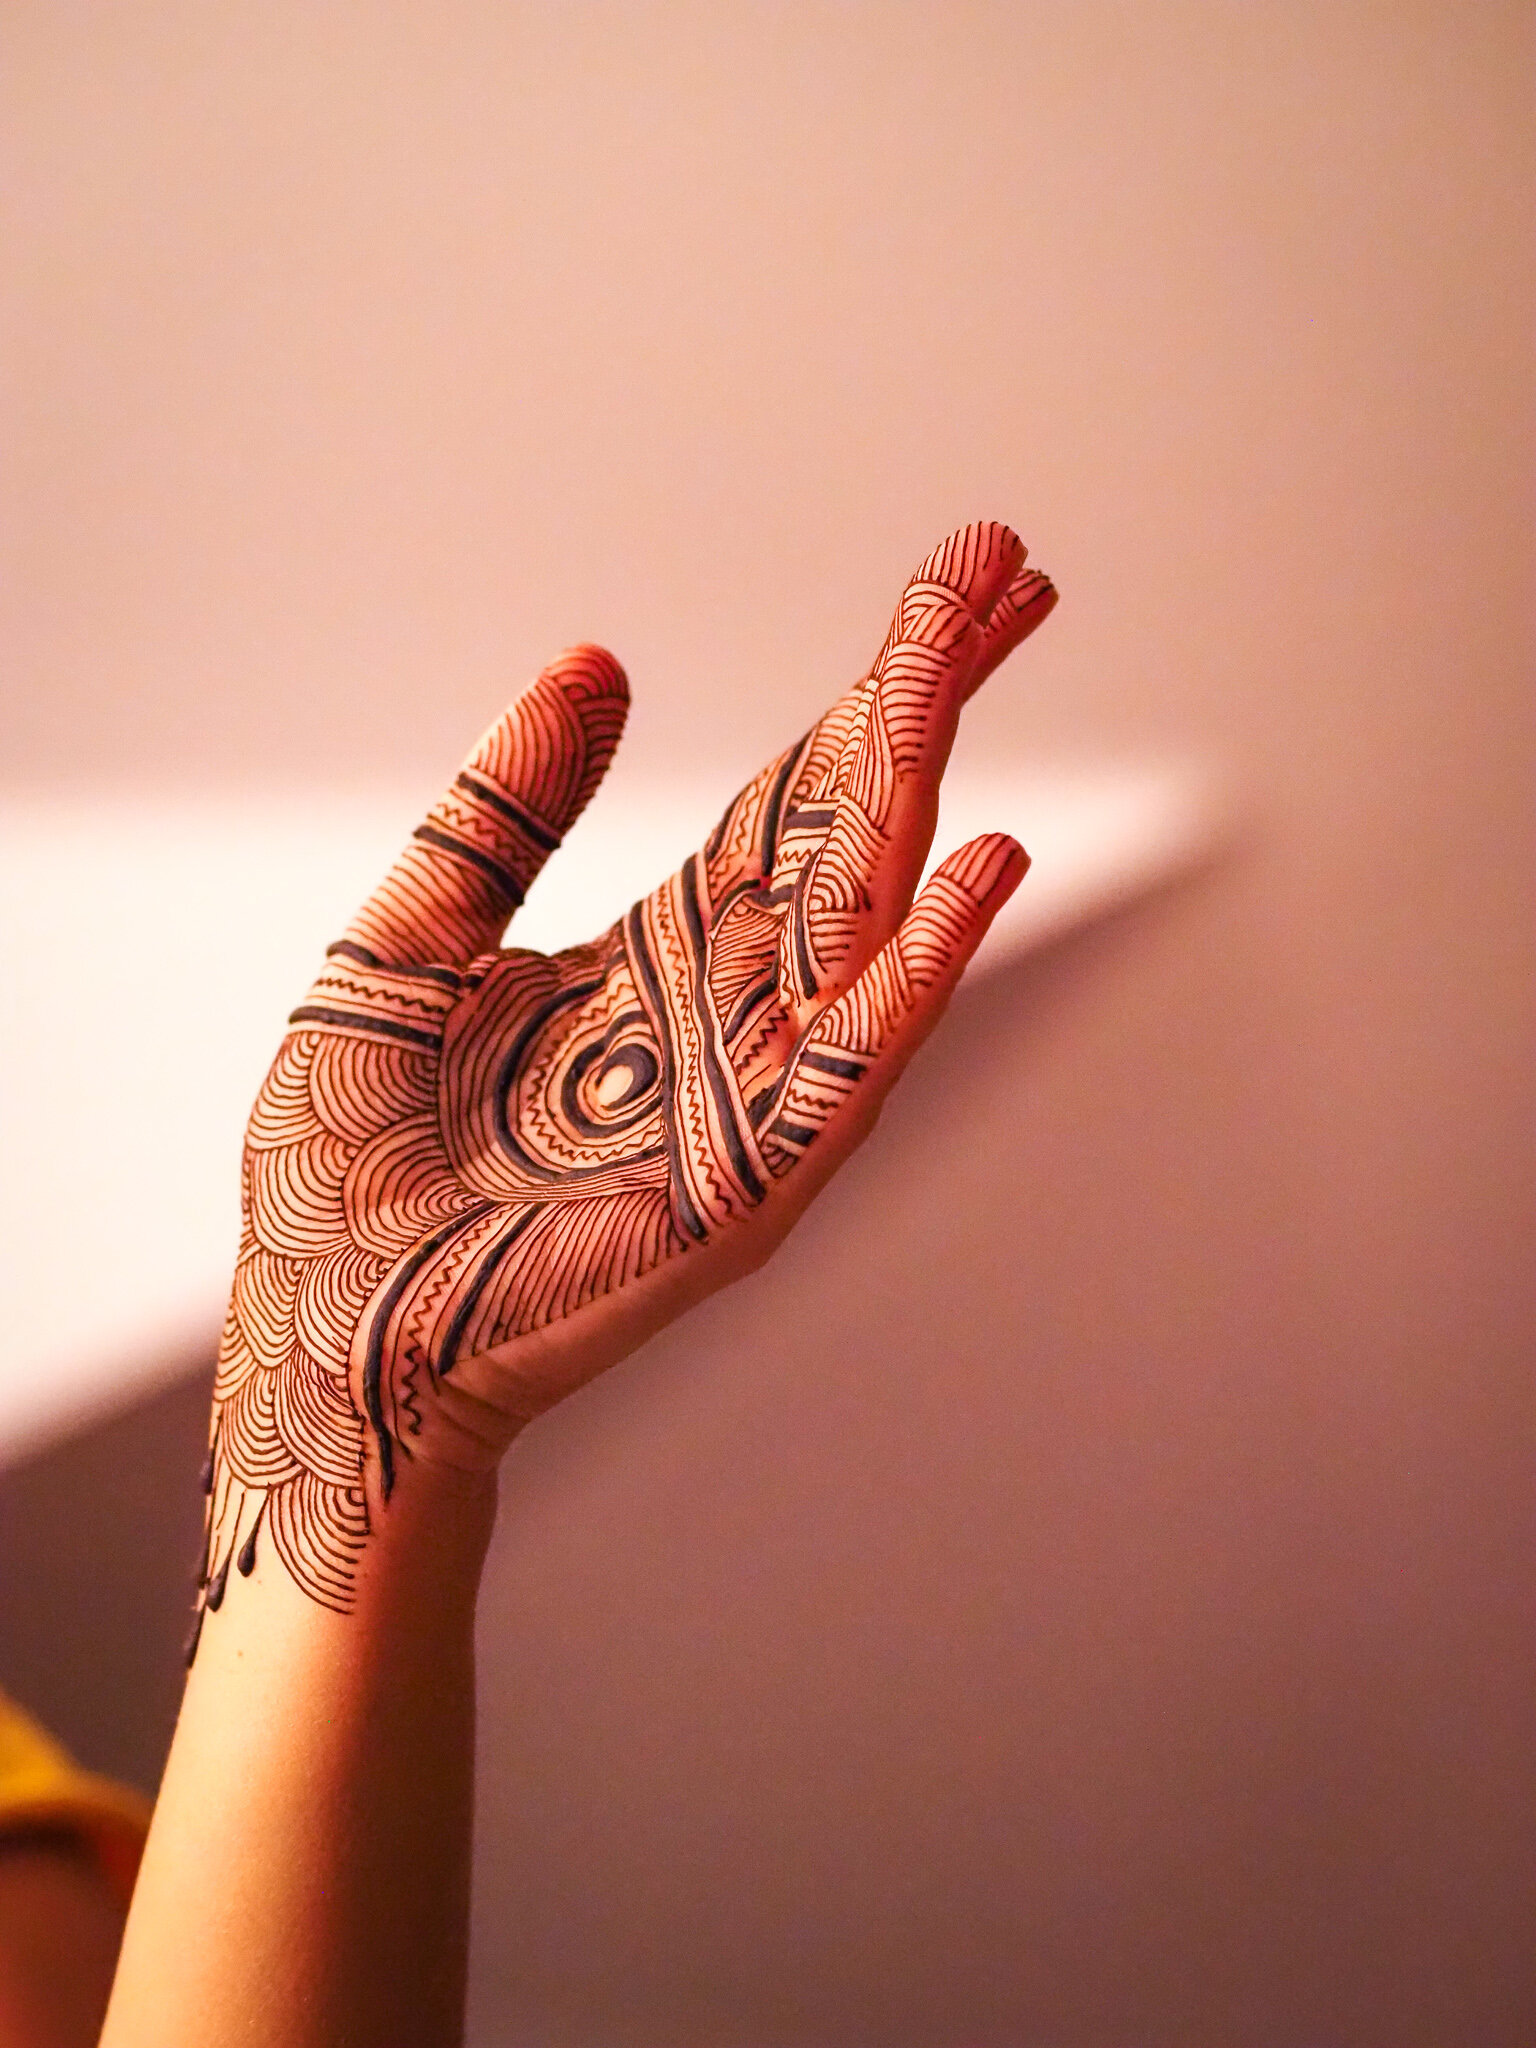
One of the most common problems, which I think every henna artist will relate to, is taking photos indoors at night. Whether you finished up a bridal henna late in the evening, or you suddenly got your henna mojo at midnight, artificial light often takes on a sickly yellow hue that can be tricky to edit. For night-time shots, I find myself using the “Chilled Out” preset from the “Indoors” collection, which cools down the yellows and bumps up the contrast to make your artwork stand out.
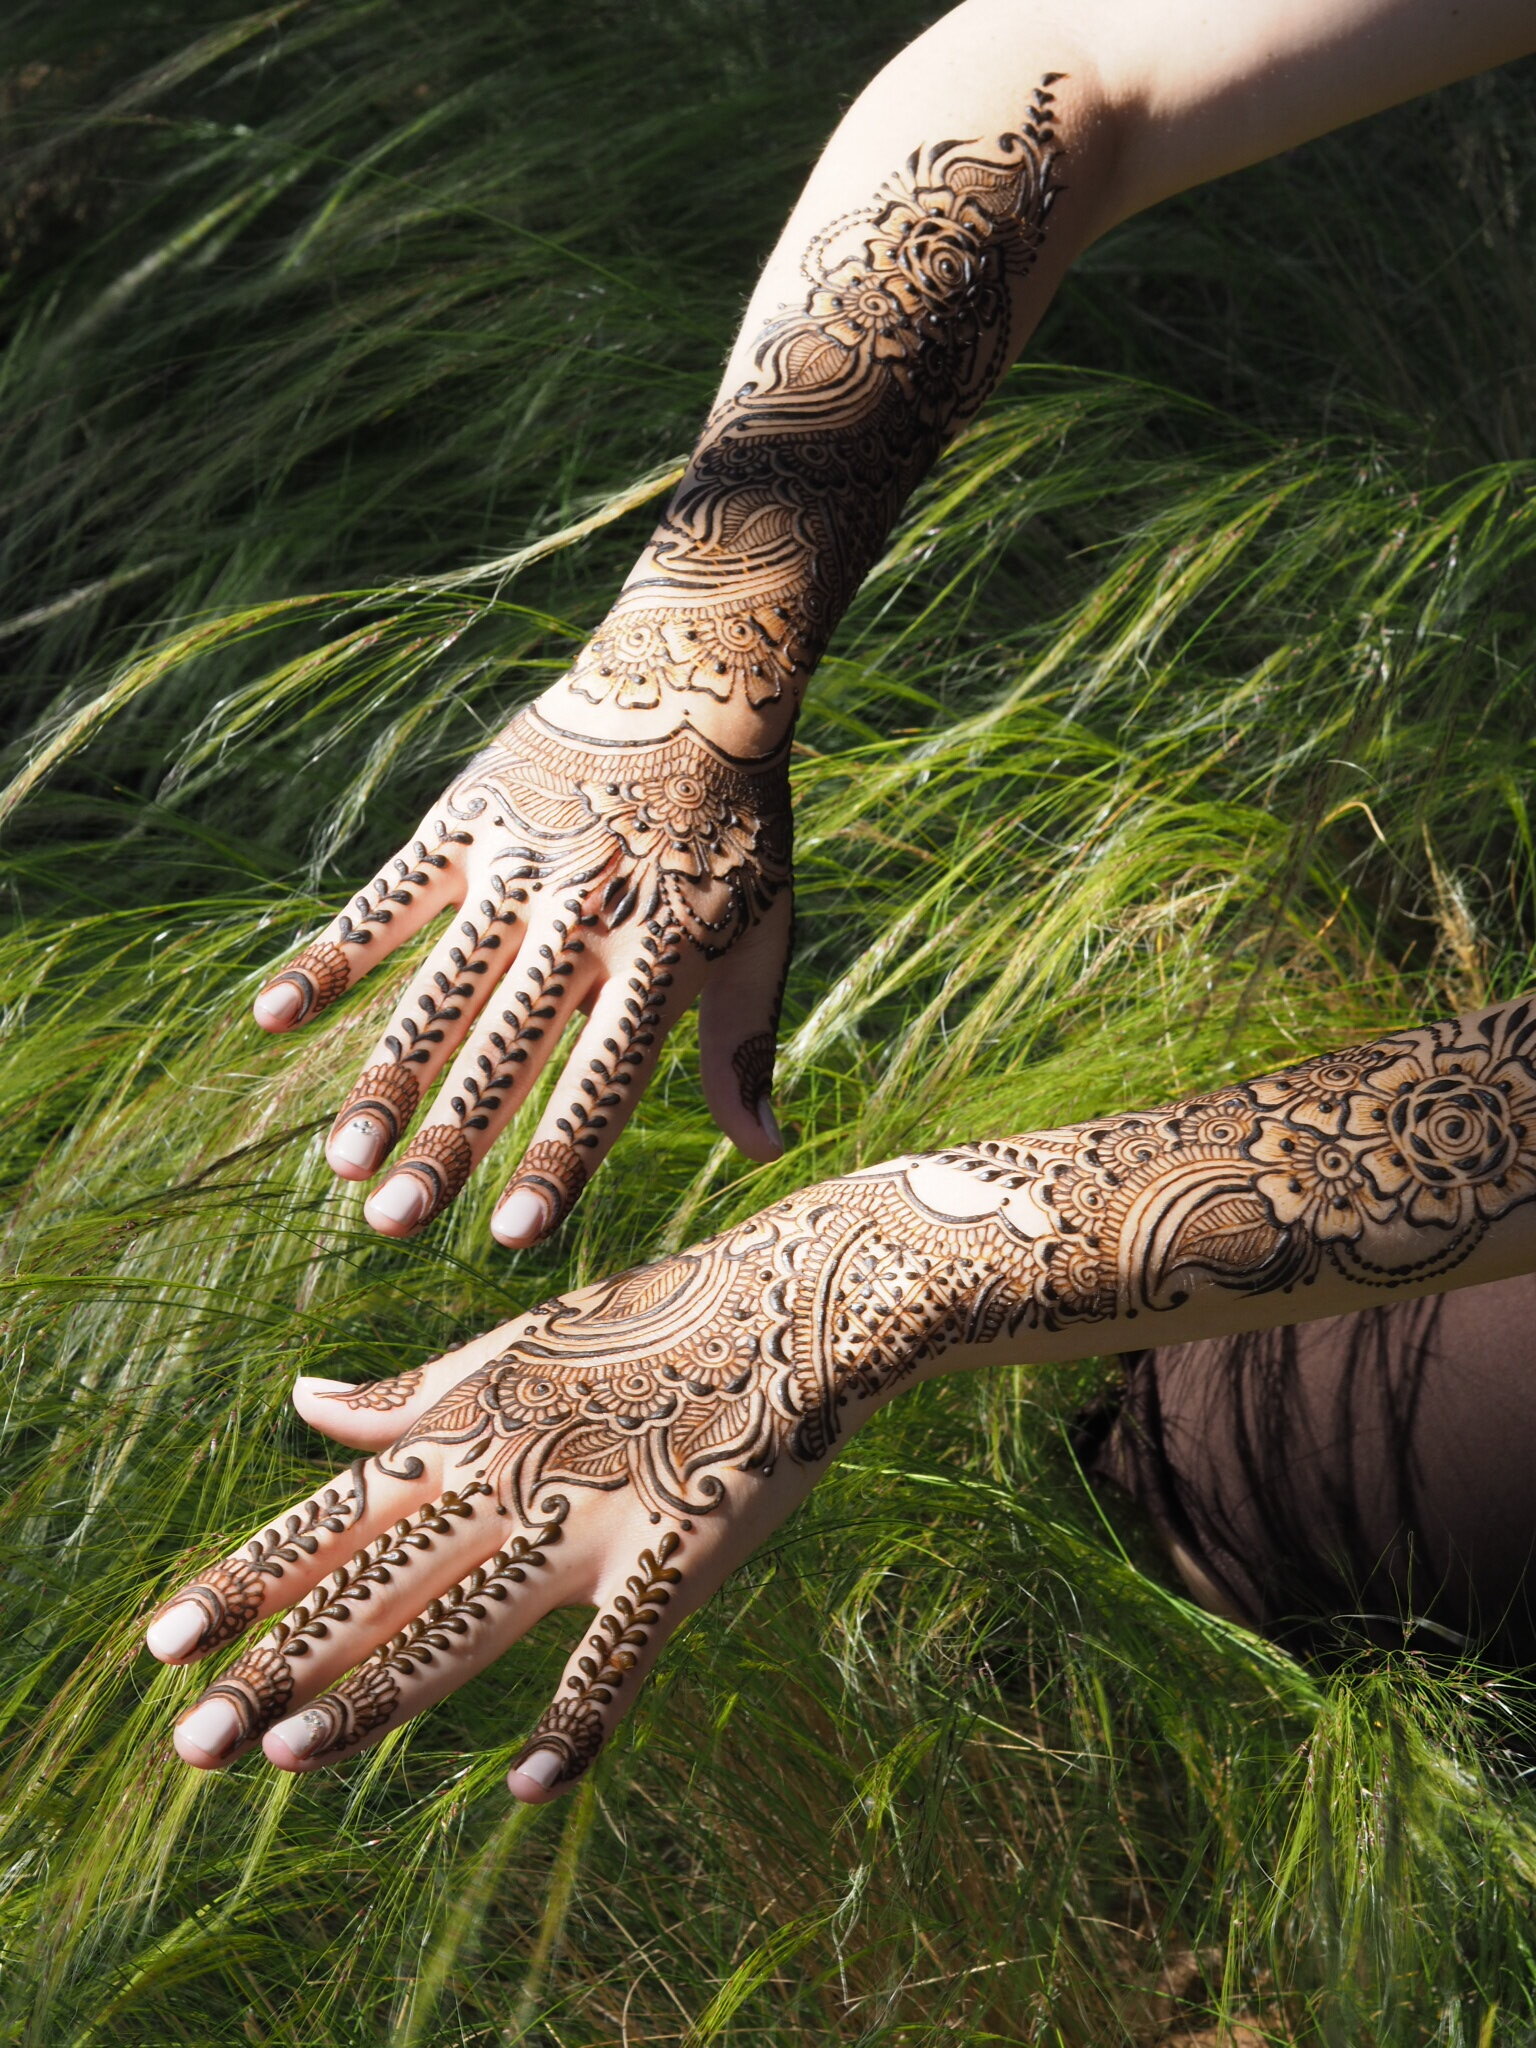
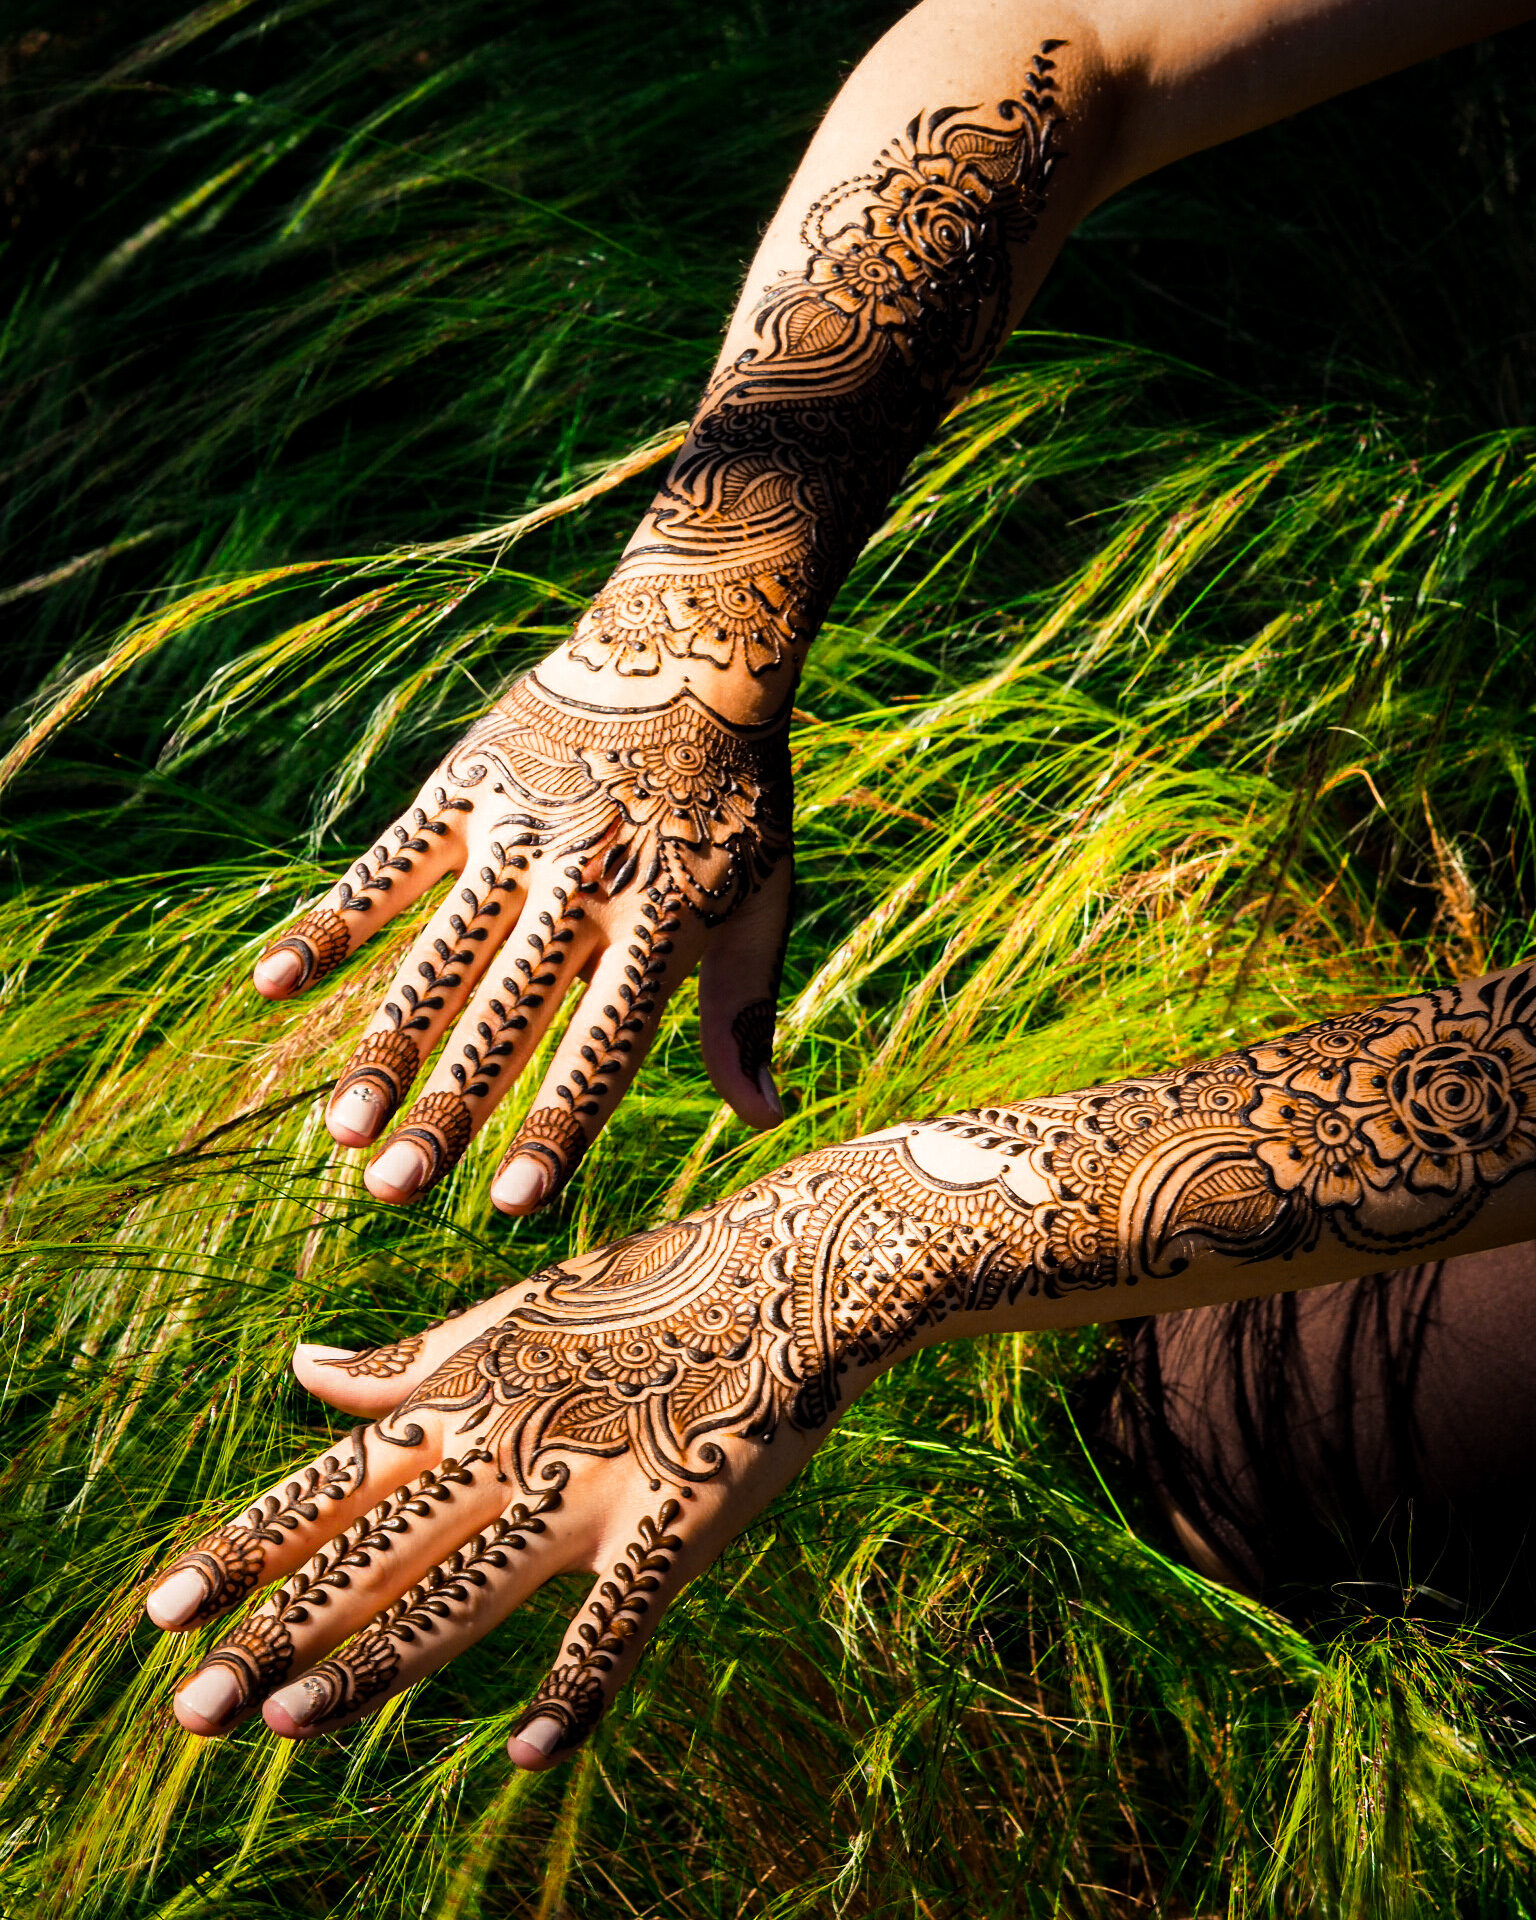
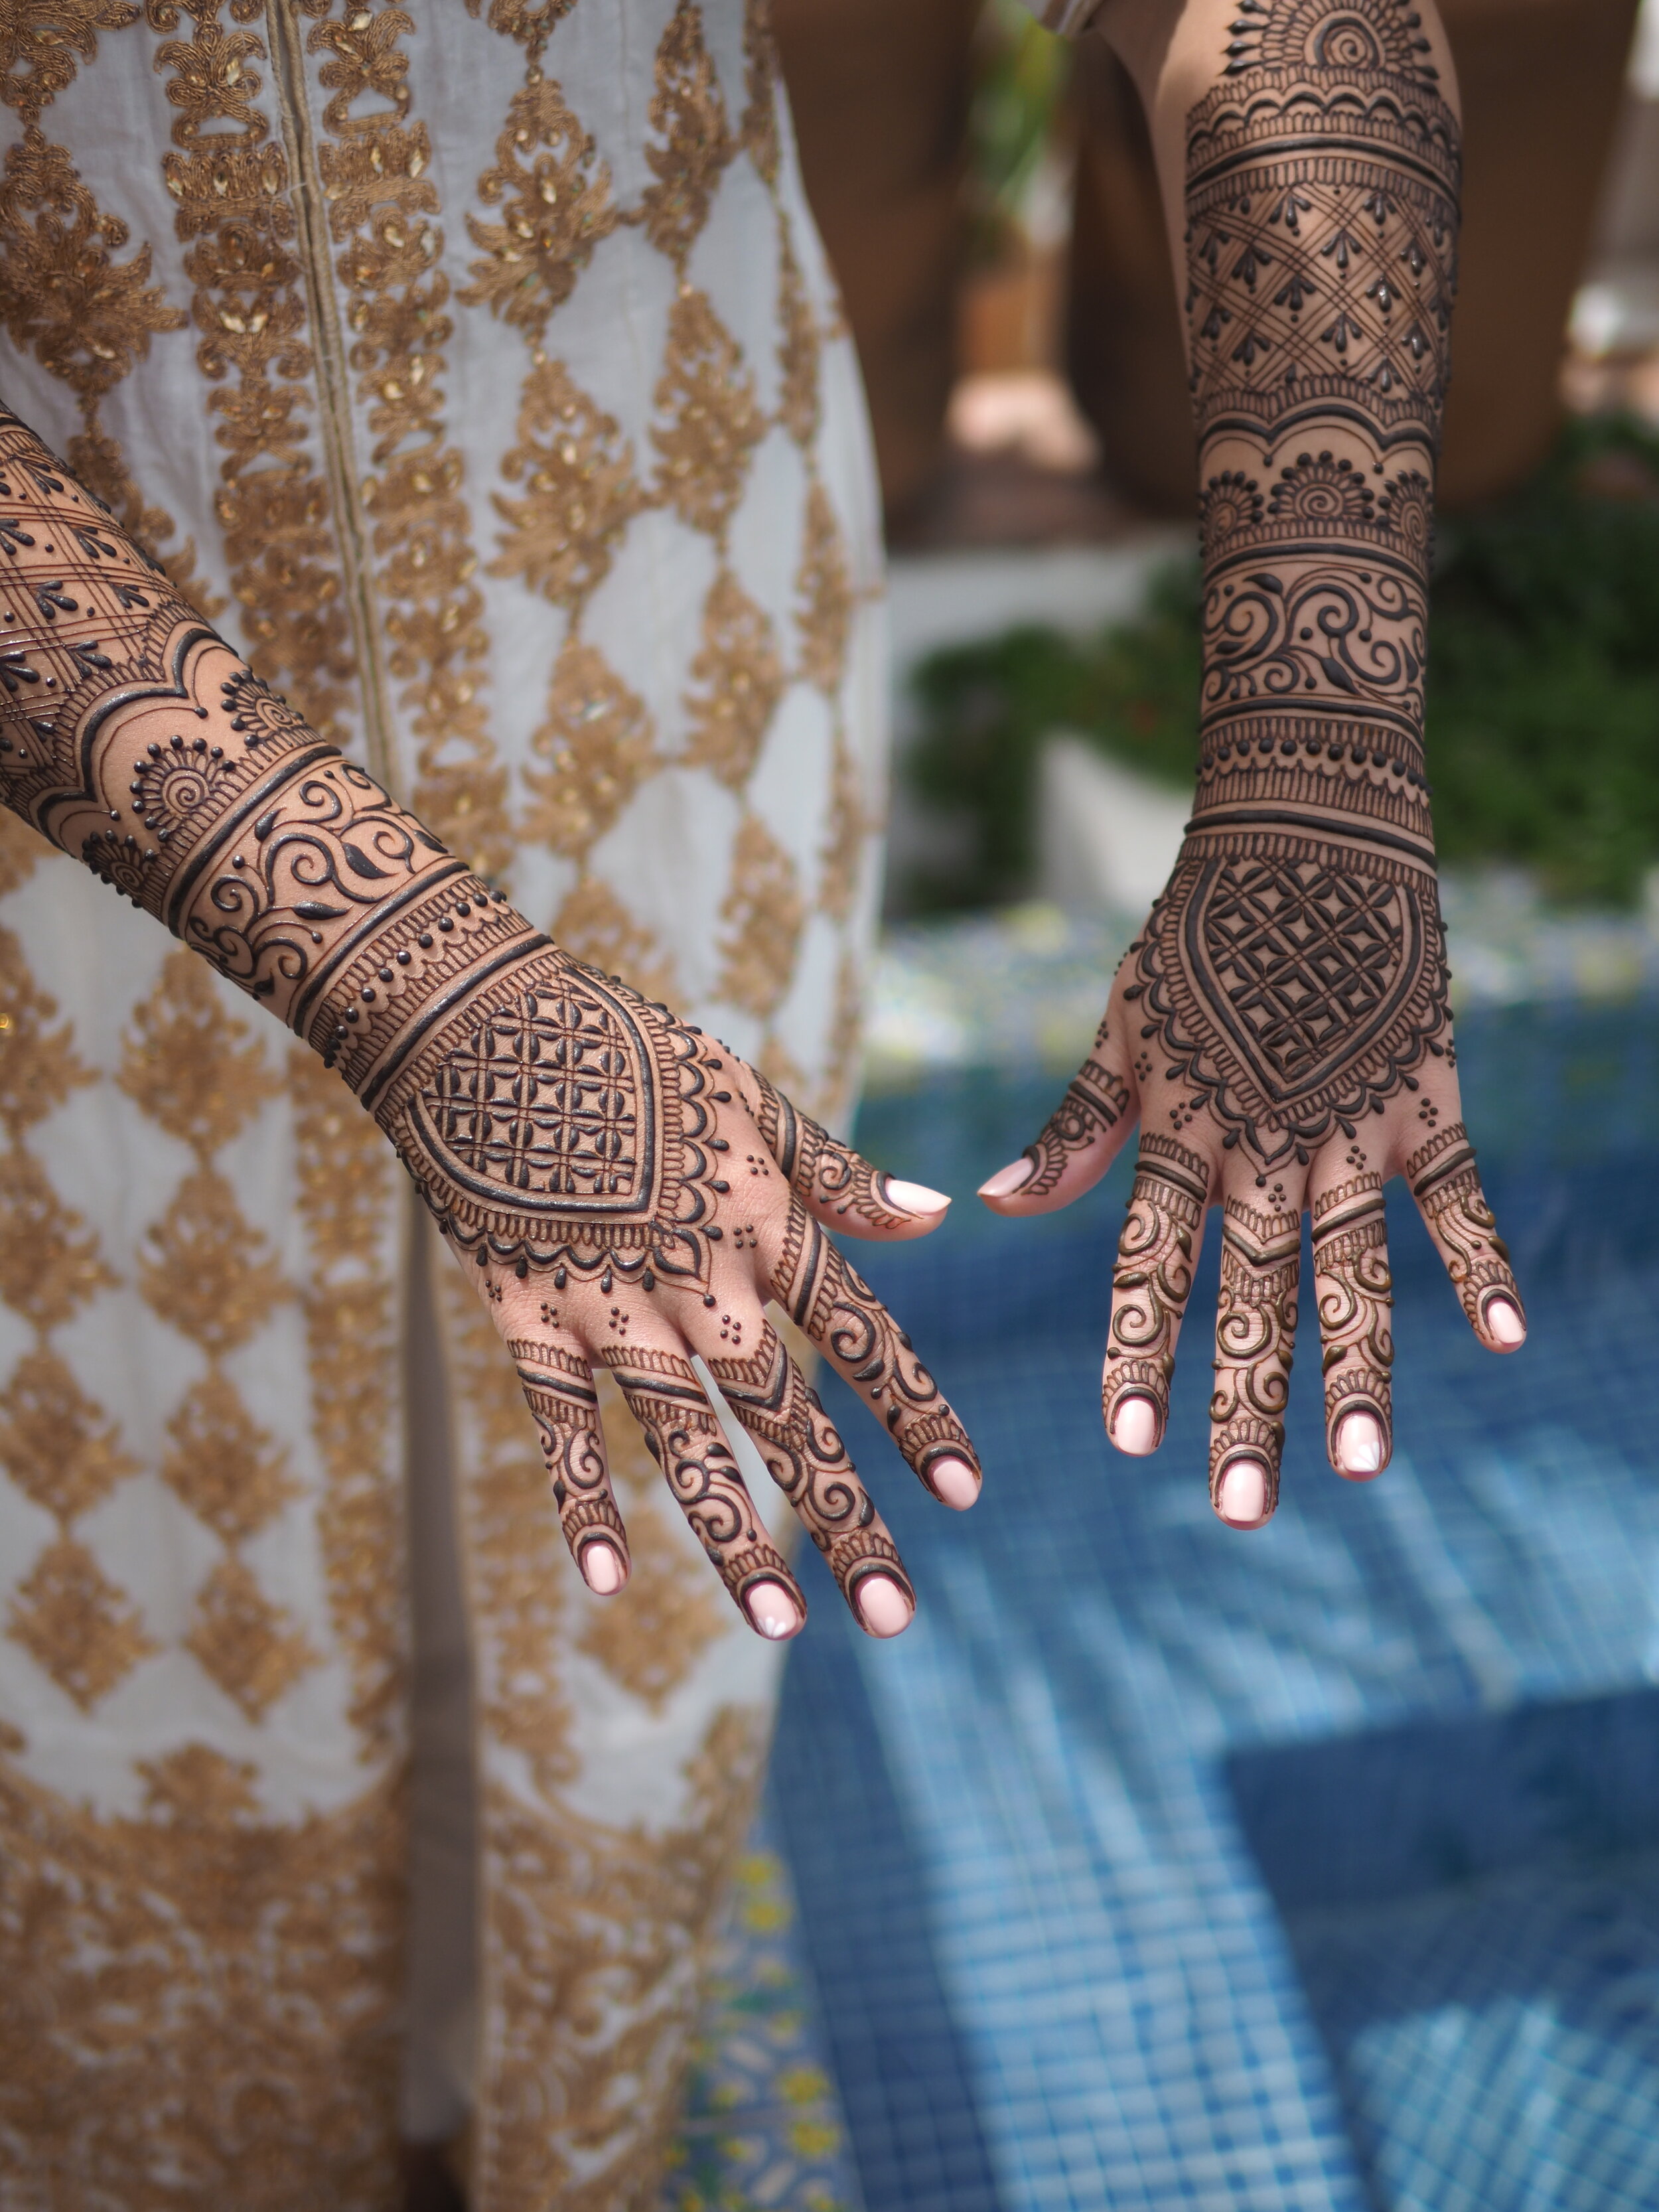
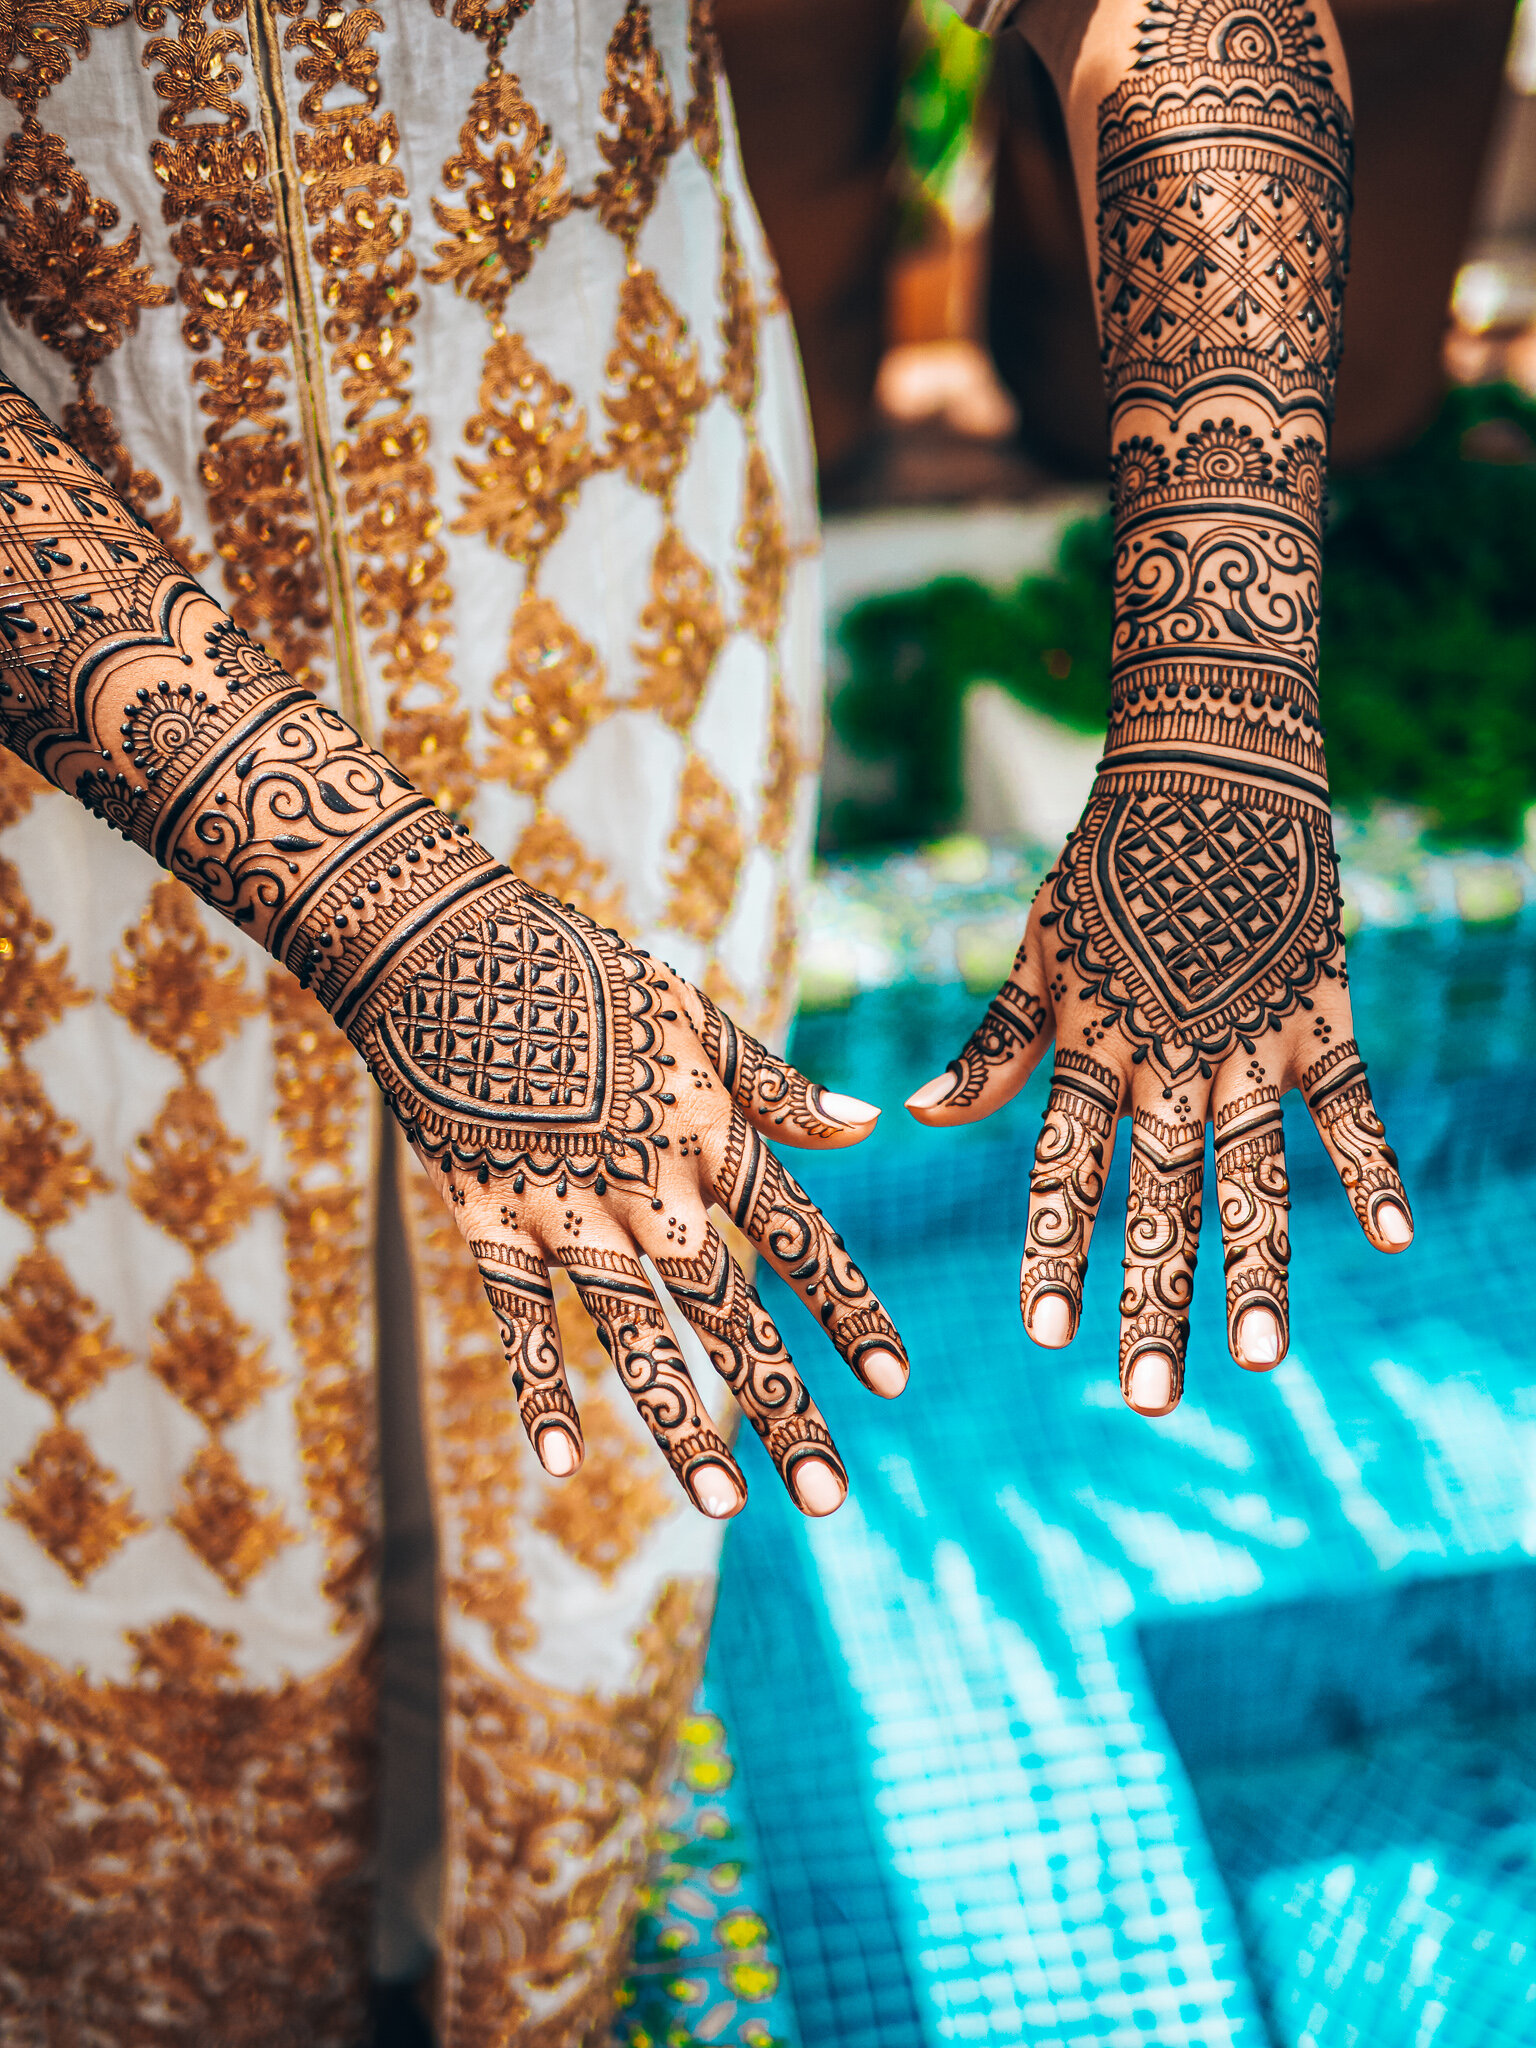
On the opposite end of the spectrum, so to speak, shooting outdoors in harsh mid-day sun can also be problematic. Details and skin tones tend to get “blown out” (light areas become over-exposed). To combat this intense light and bring back some warmth to the skin, I used the “Dappled” filter from the “Wild” collection.
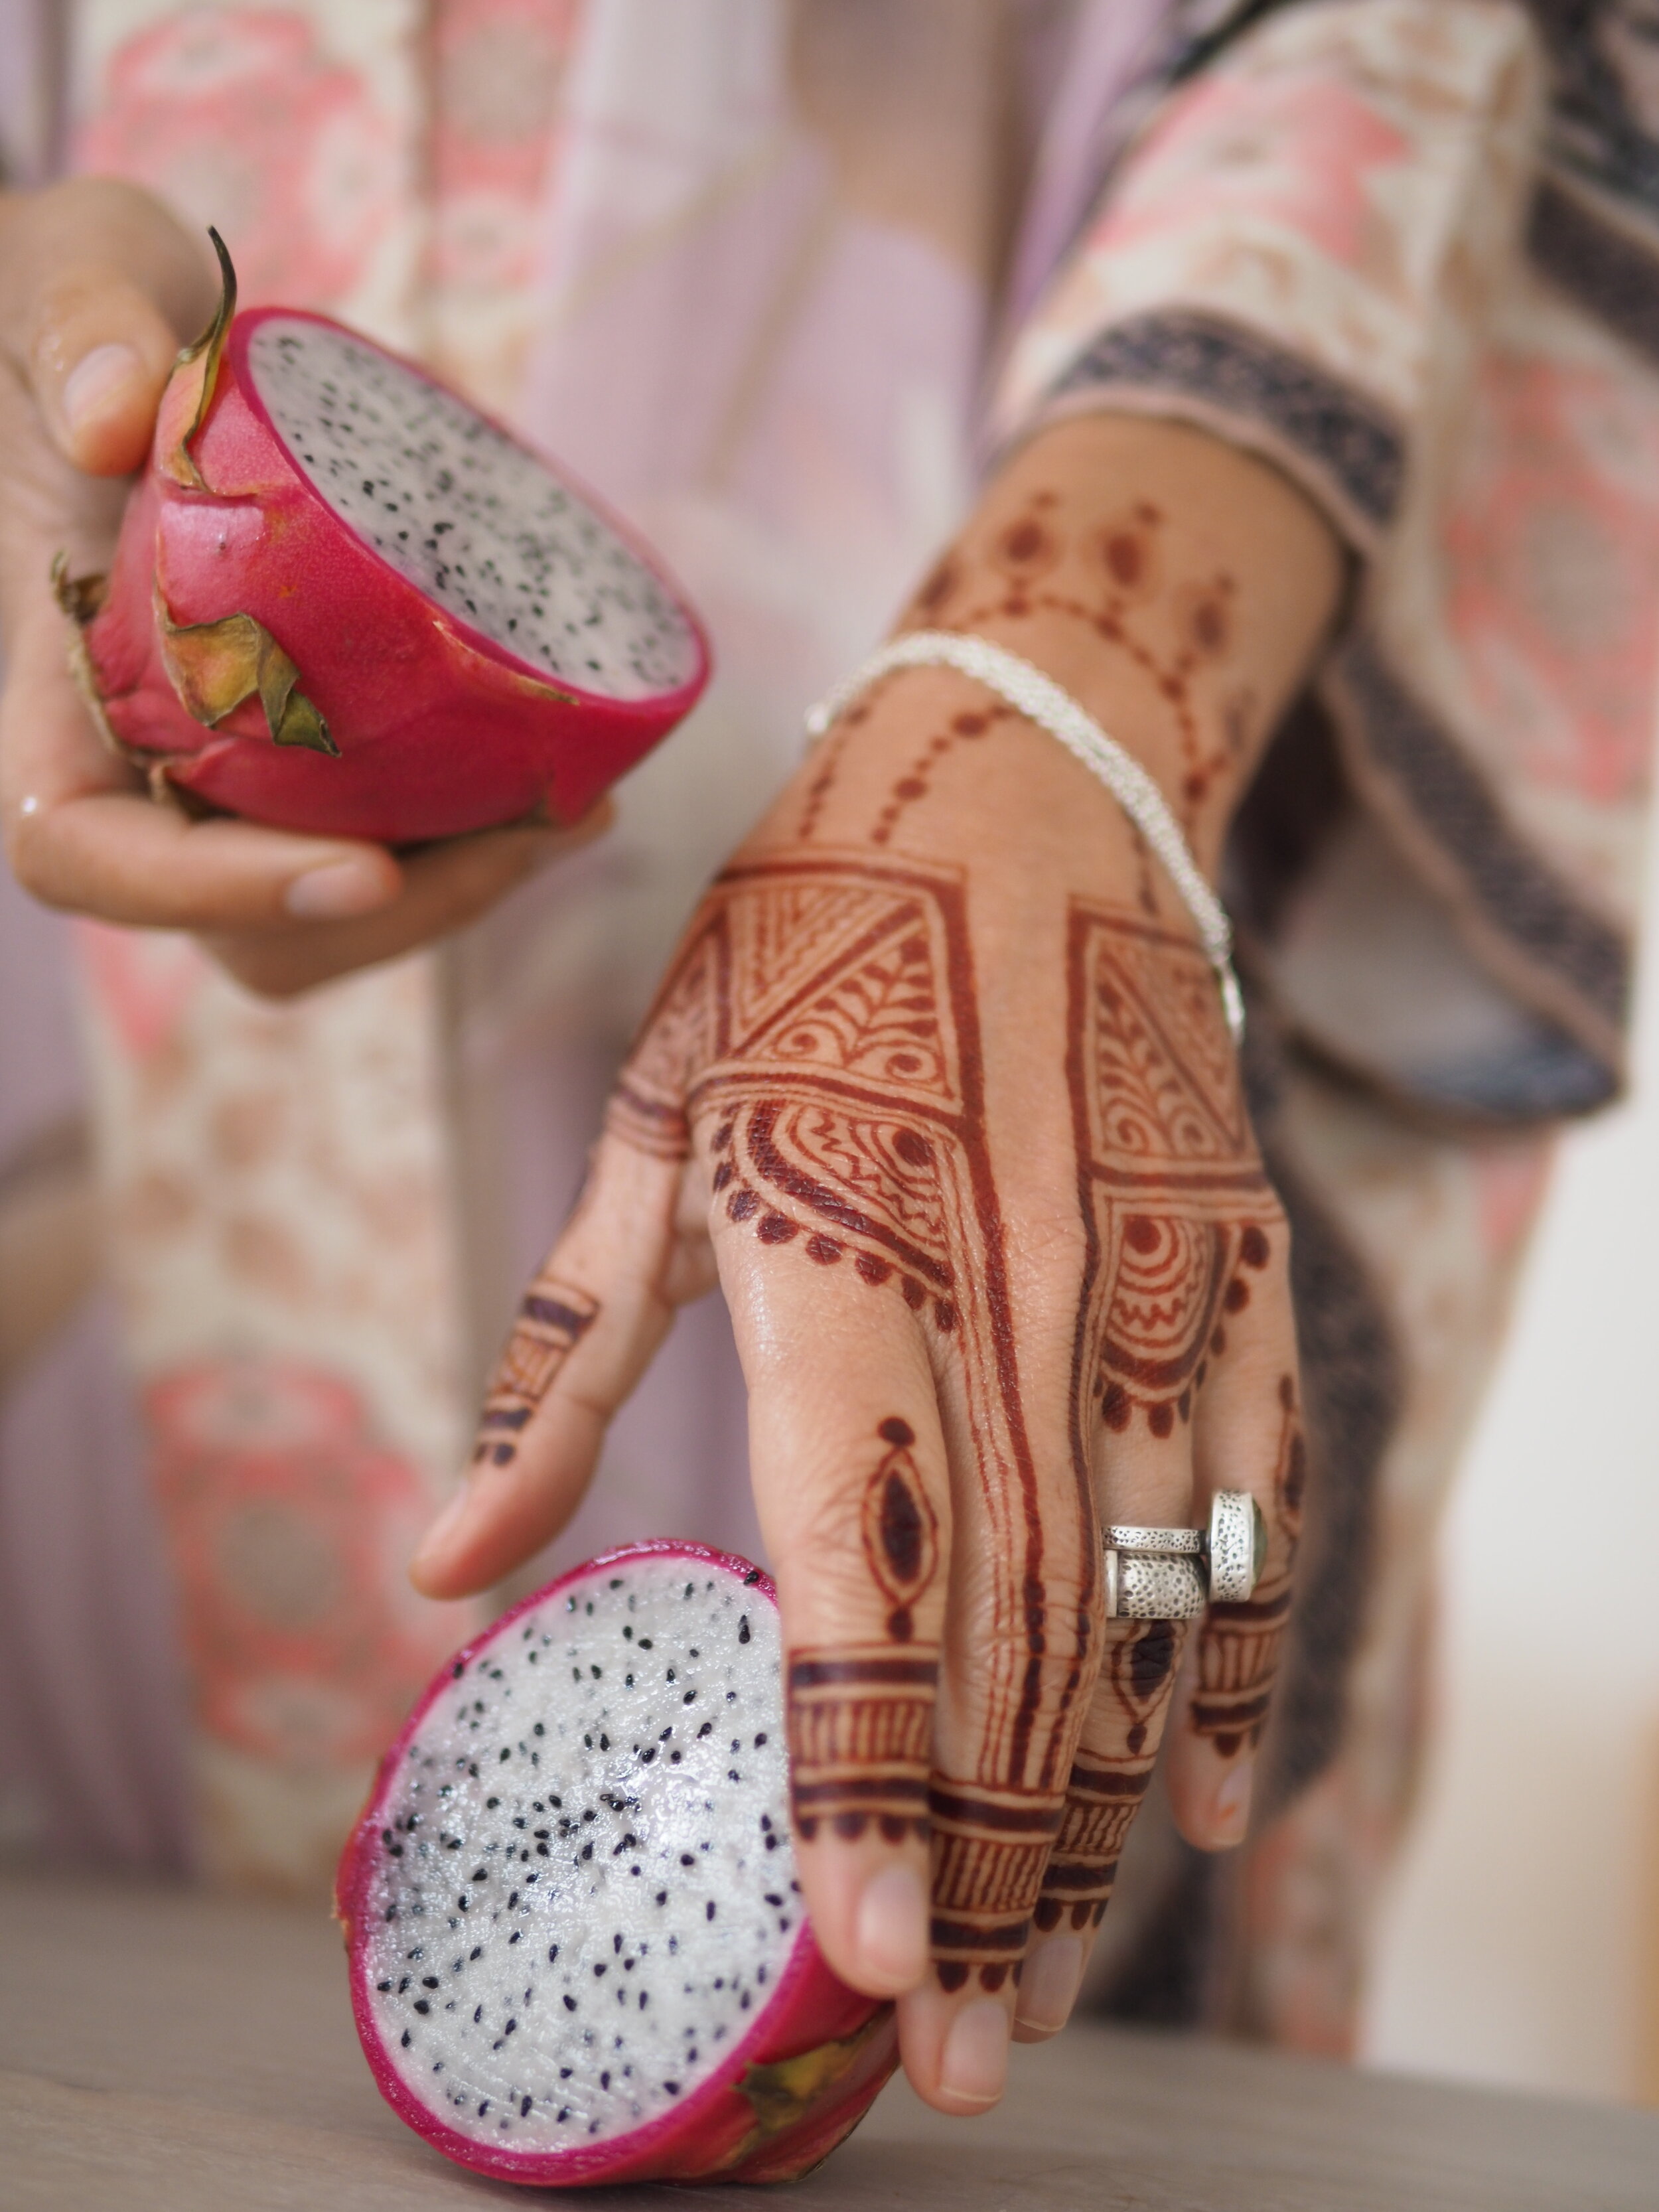
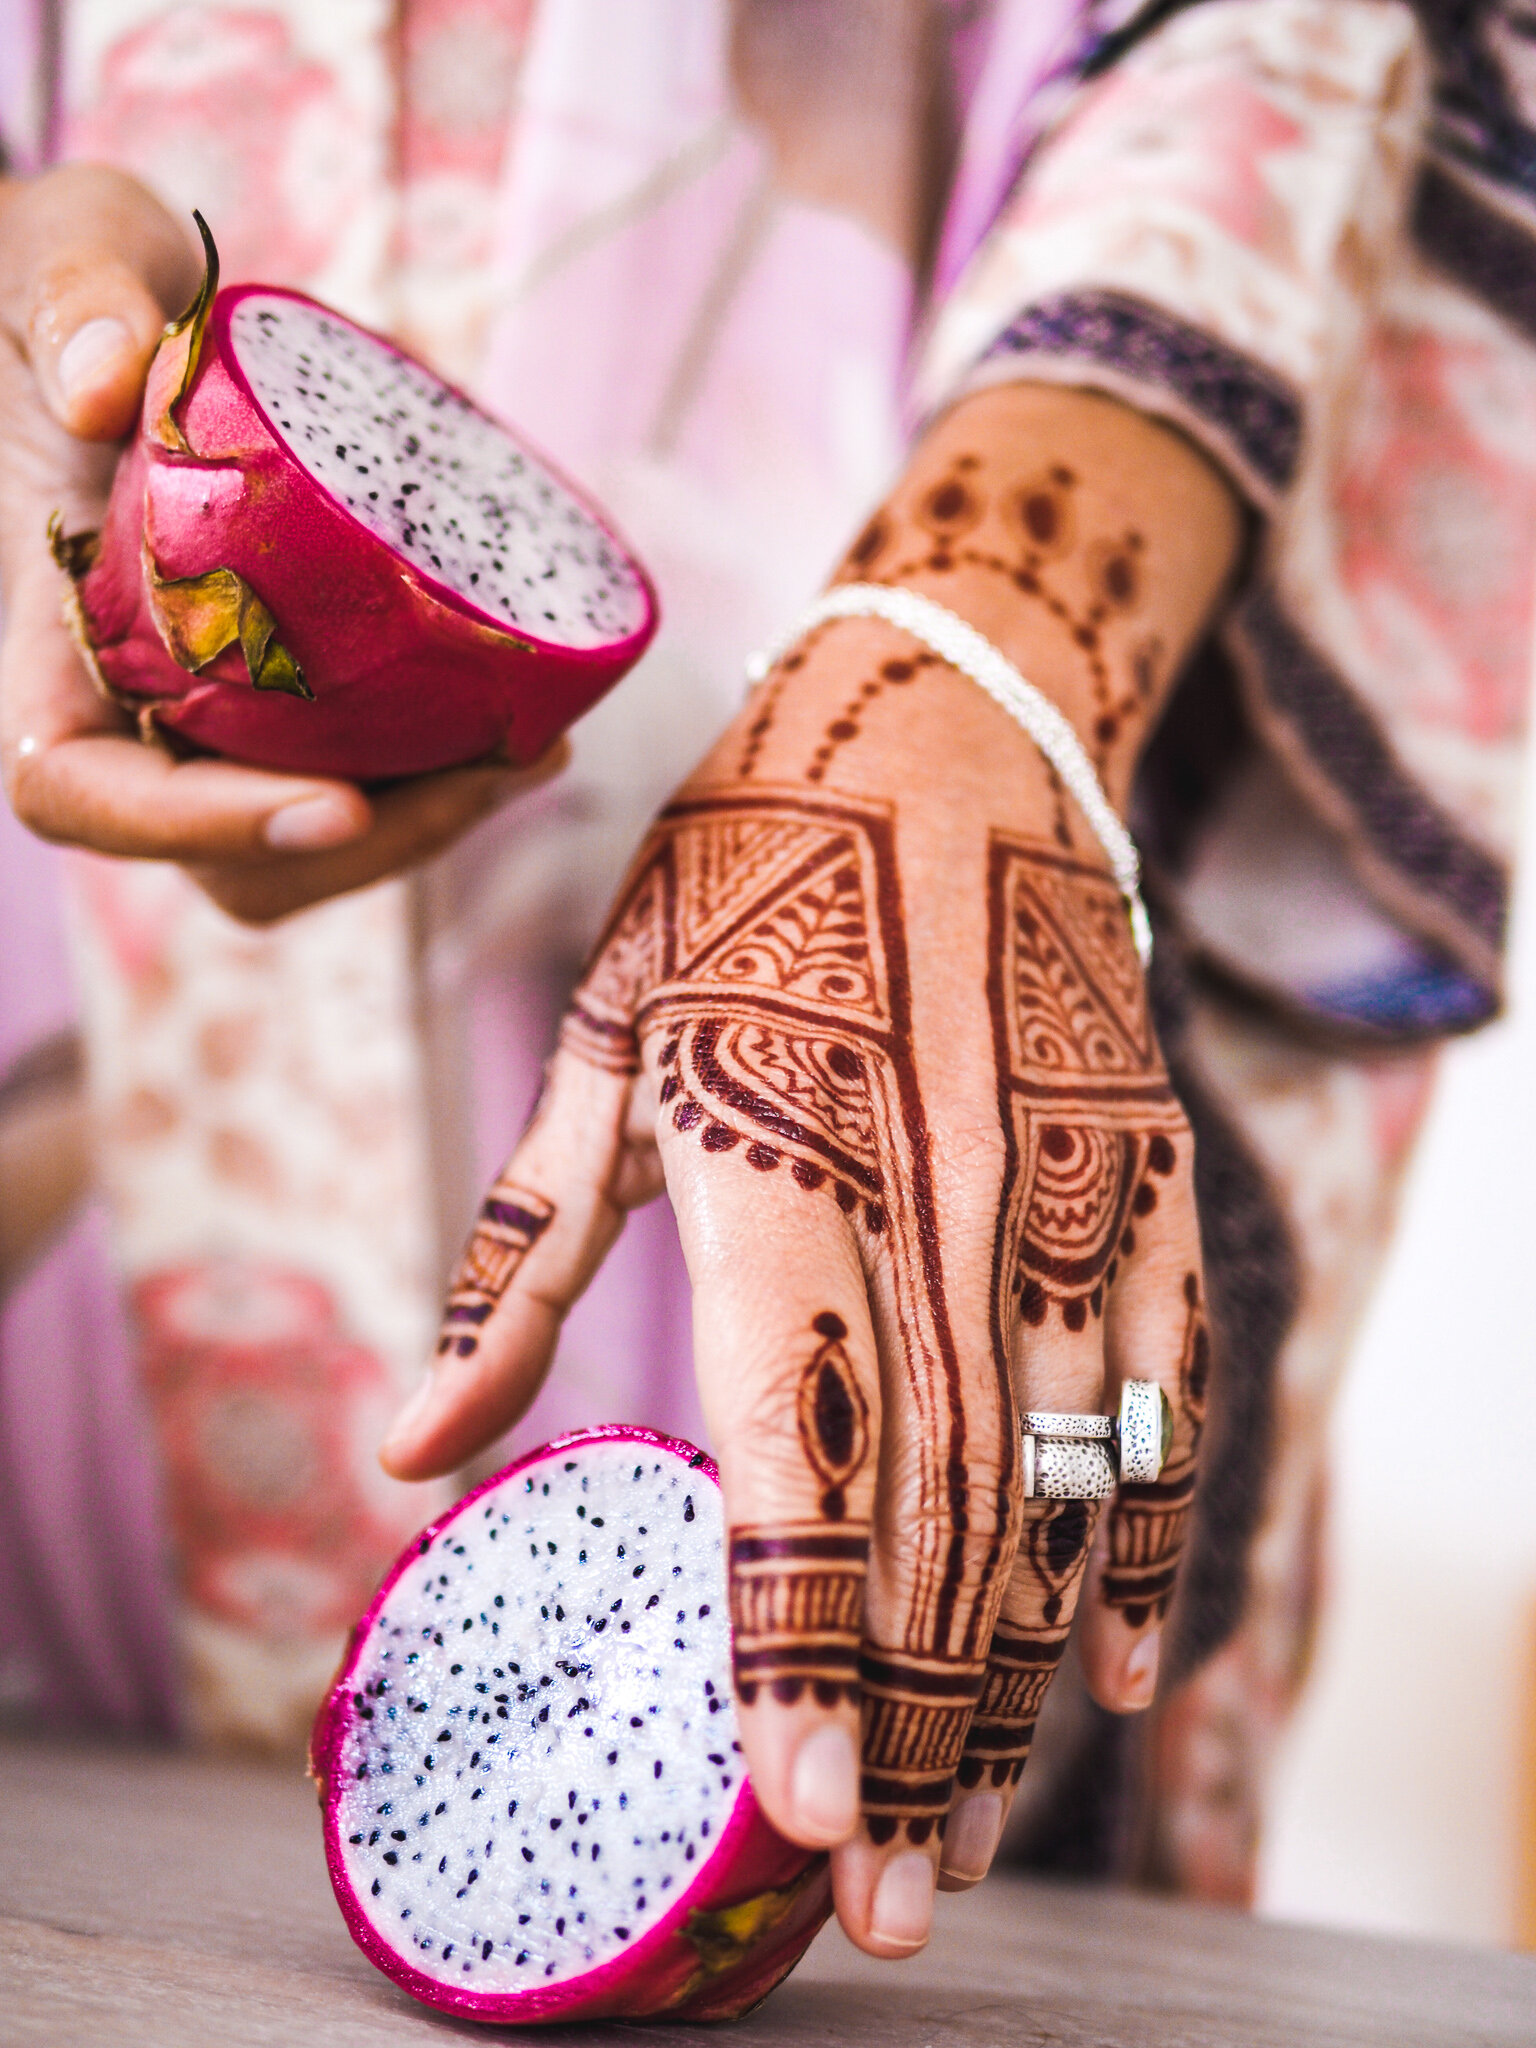
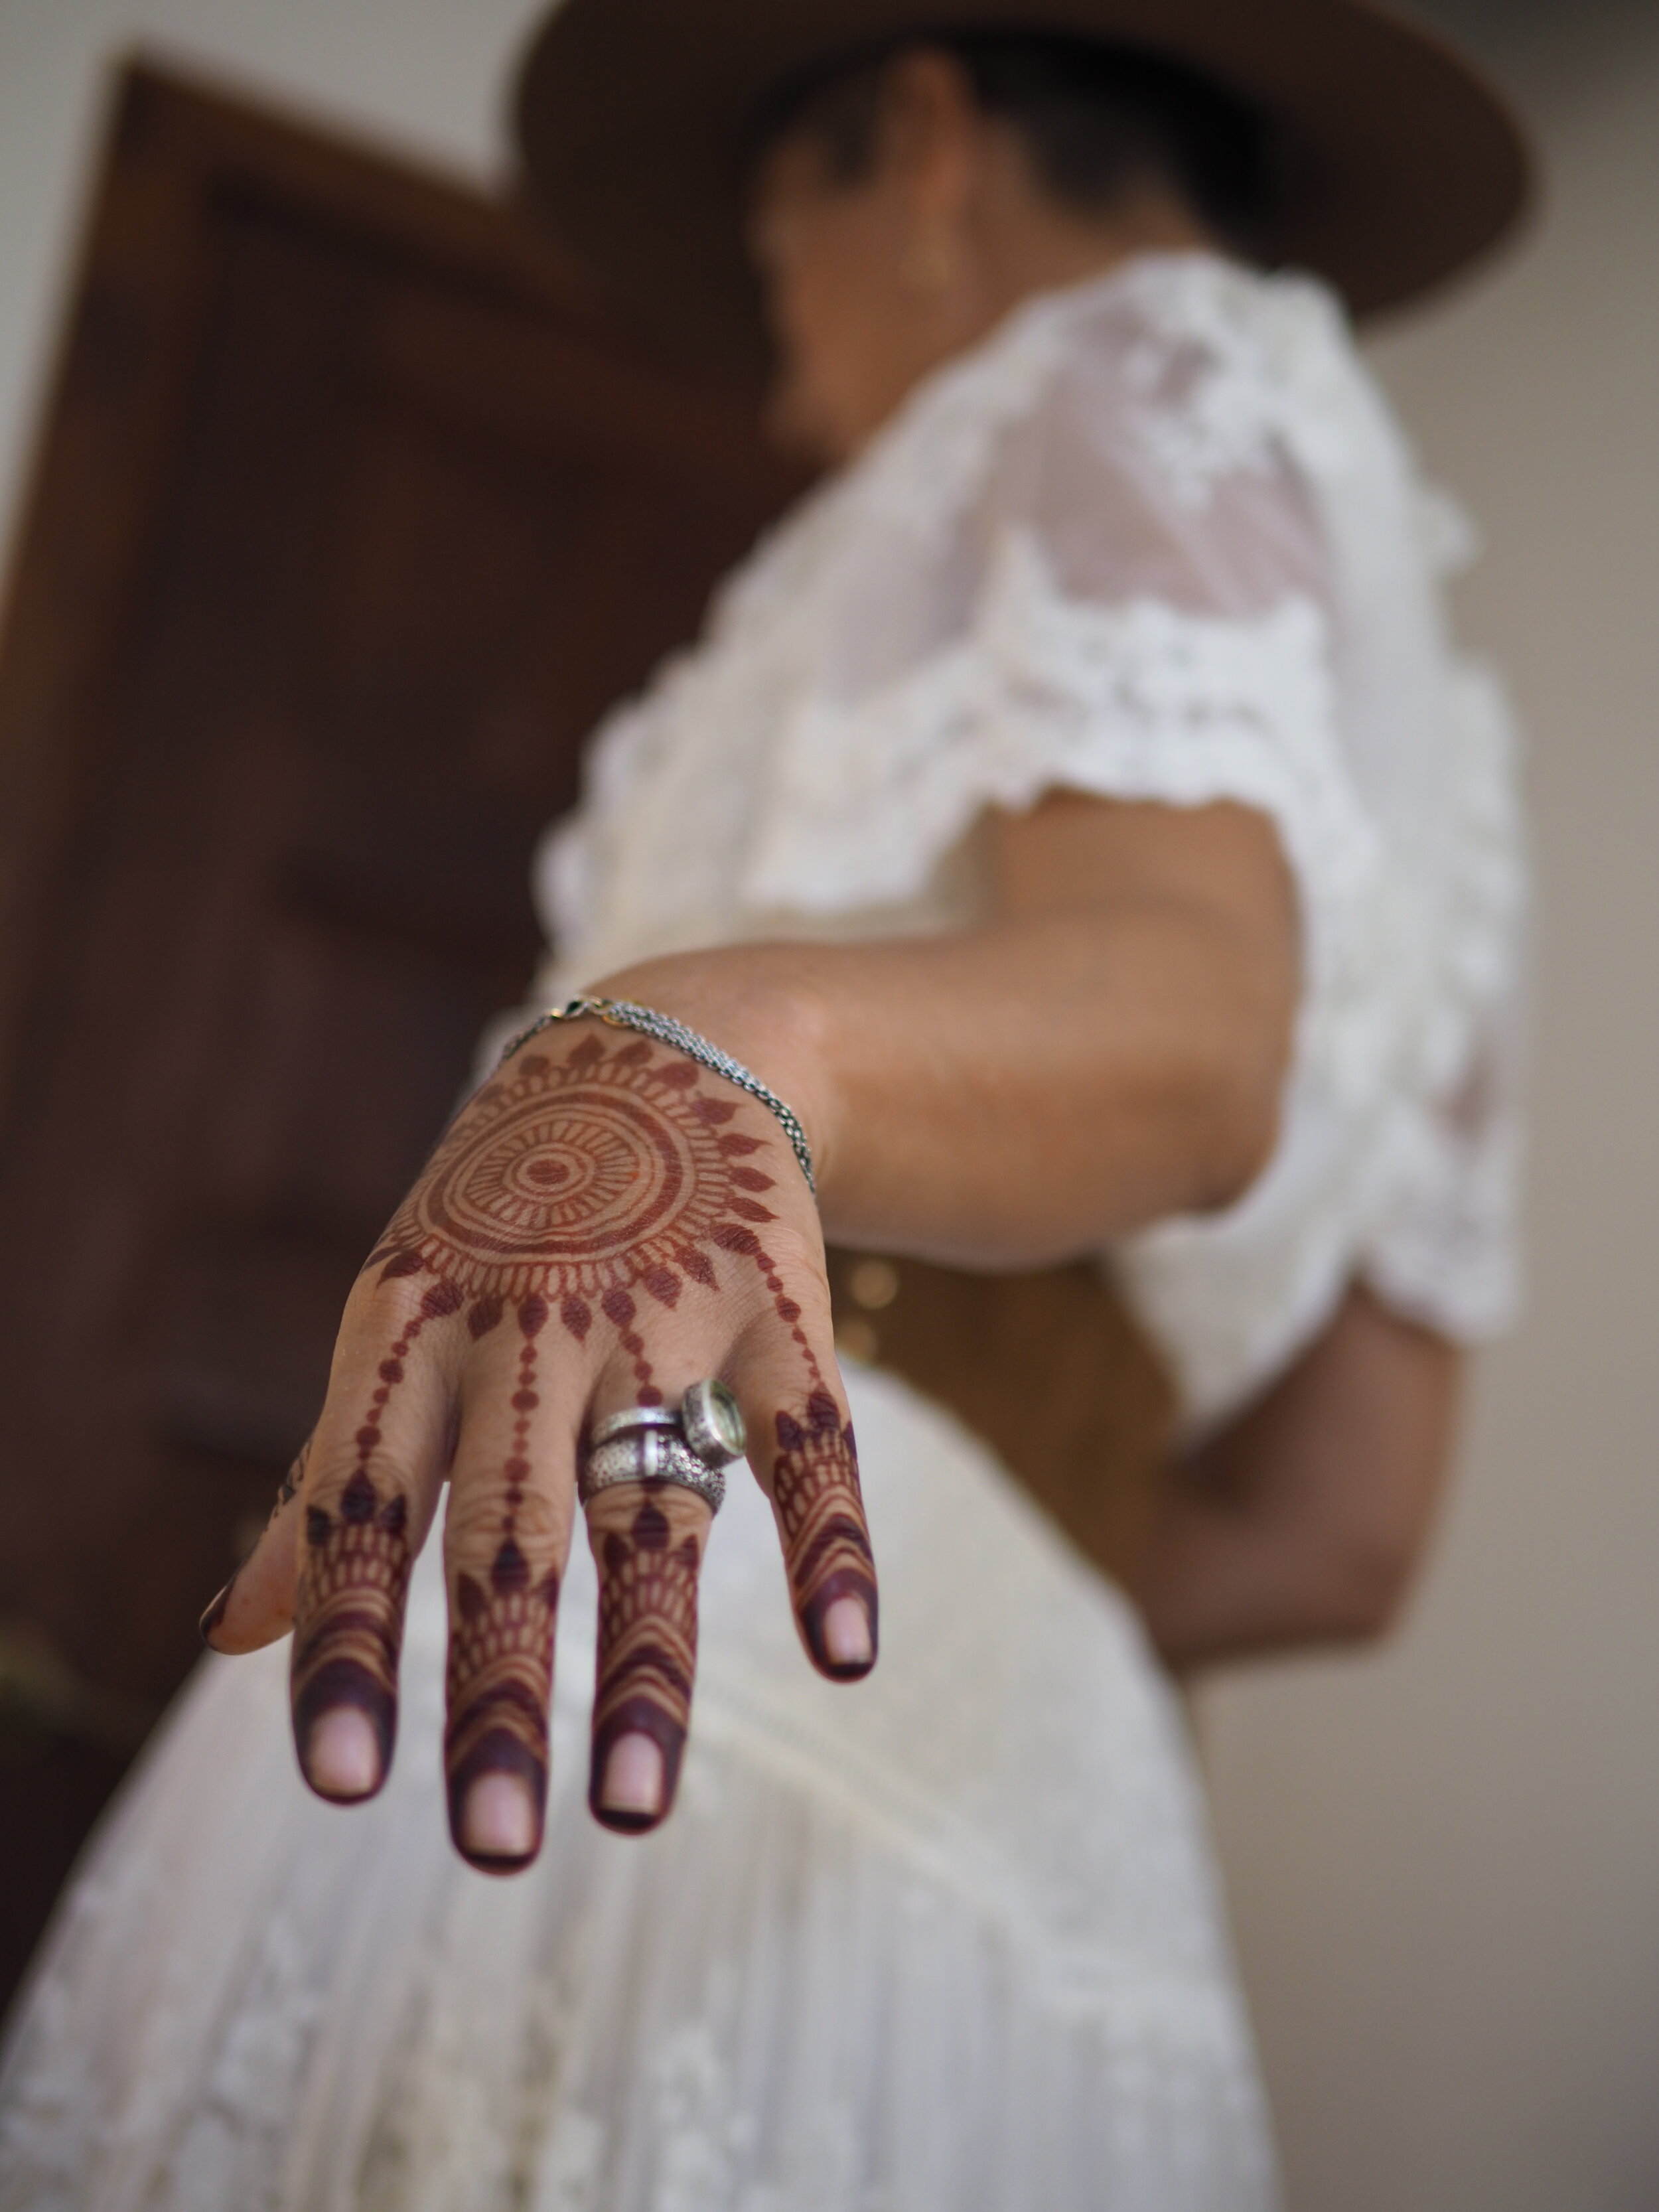
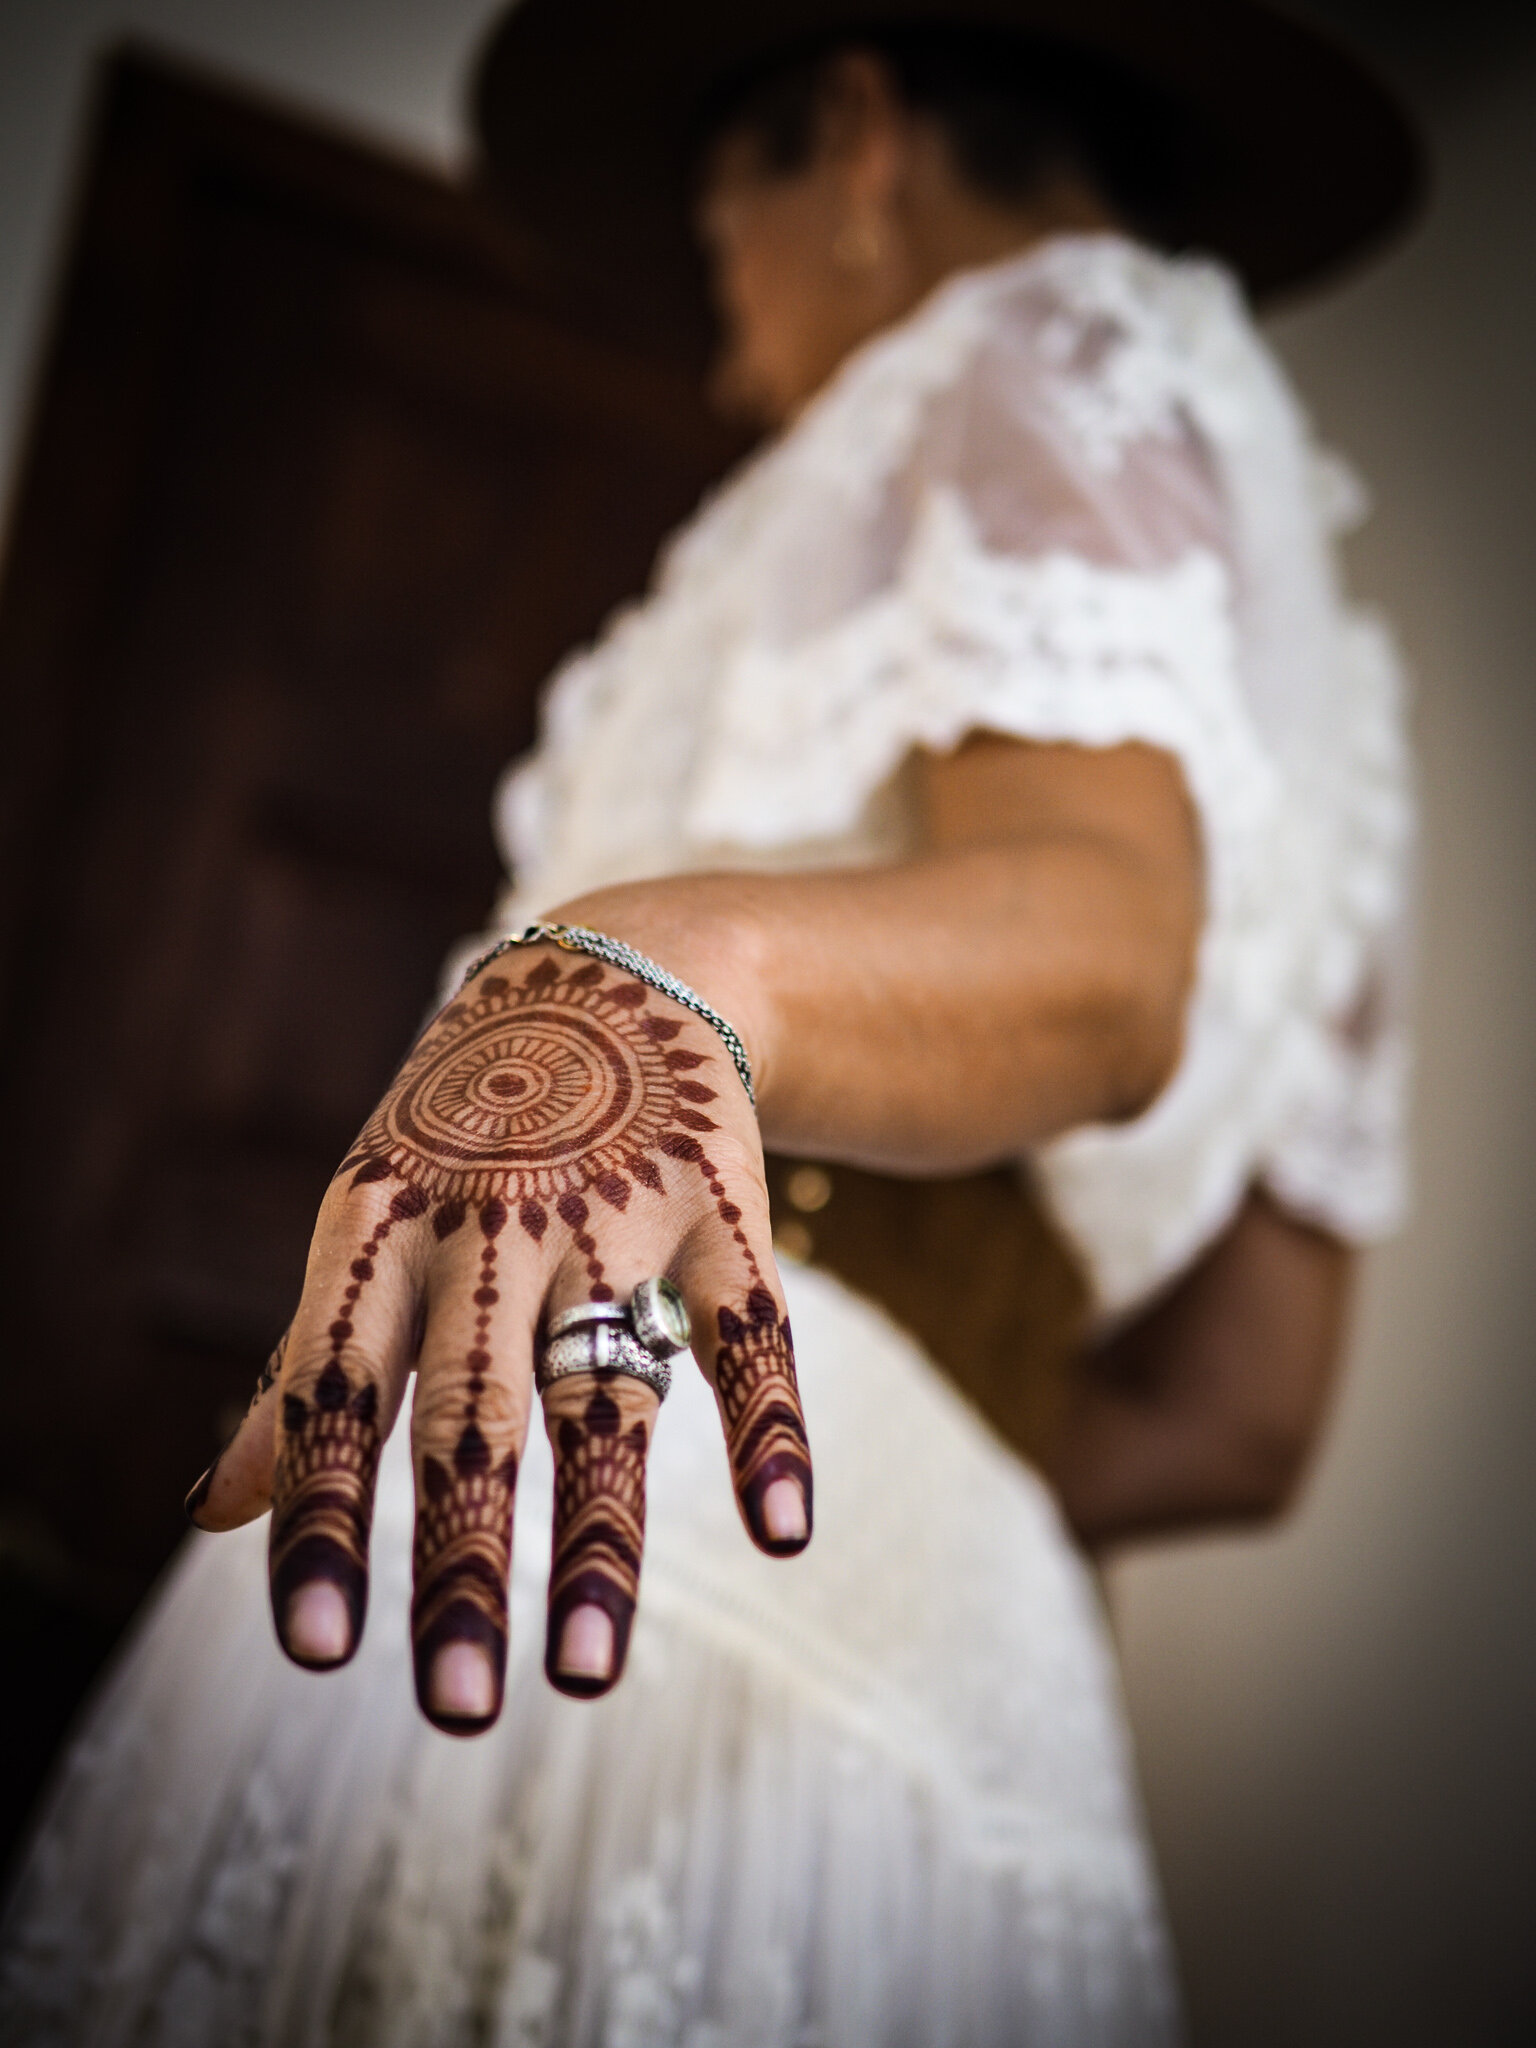
One of the best places to shoot is indoors, near a window, with natural daylight streaming in. But even with these nice conditions, sometimes there are issues. In this photo, an overcast day filtered through curtains created a very diffuse light which left the photos feeling a little flat and lifeless. The intensity of the henna was washed out, and the bright colors of the fruit and clothing looked meh. I used the preset “Bronceada” from my “Southern Exposure” collection to deepen the shadows, brighten highlights, and saturate the pinks for a bit more tropical look. It immediately created more depth in the image, showed the rich henna stain more accurately, and pumped up the fuchsia of the dragonfruit.
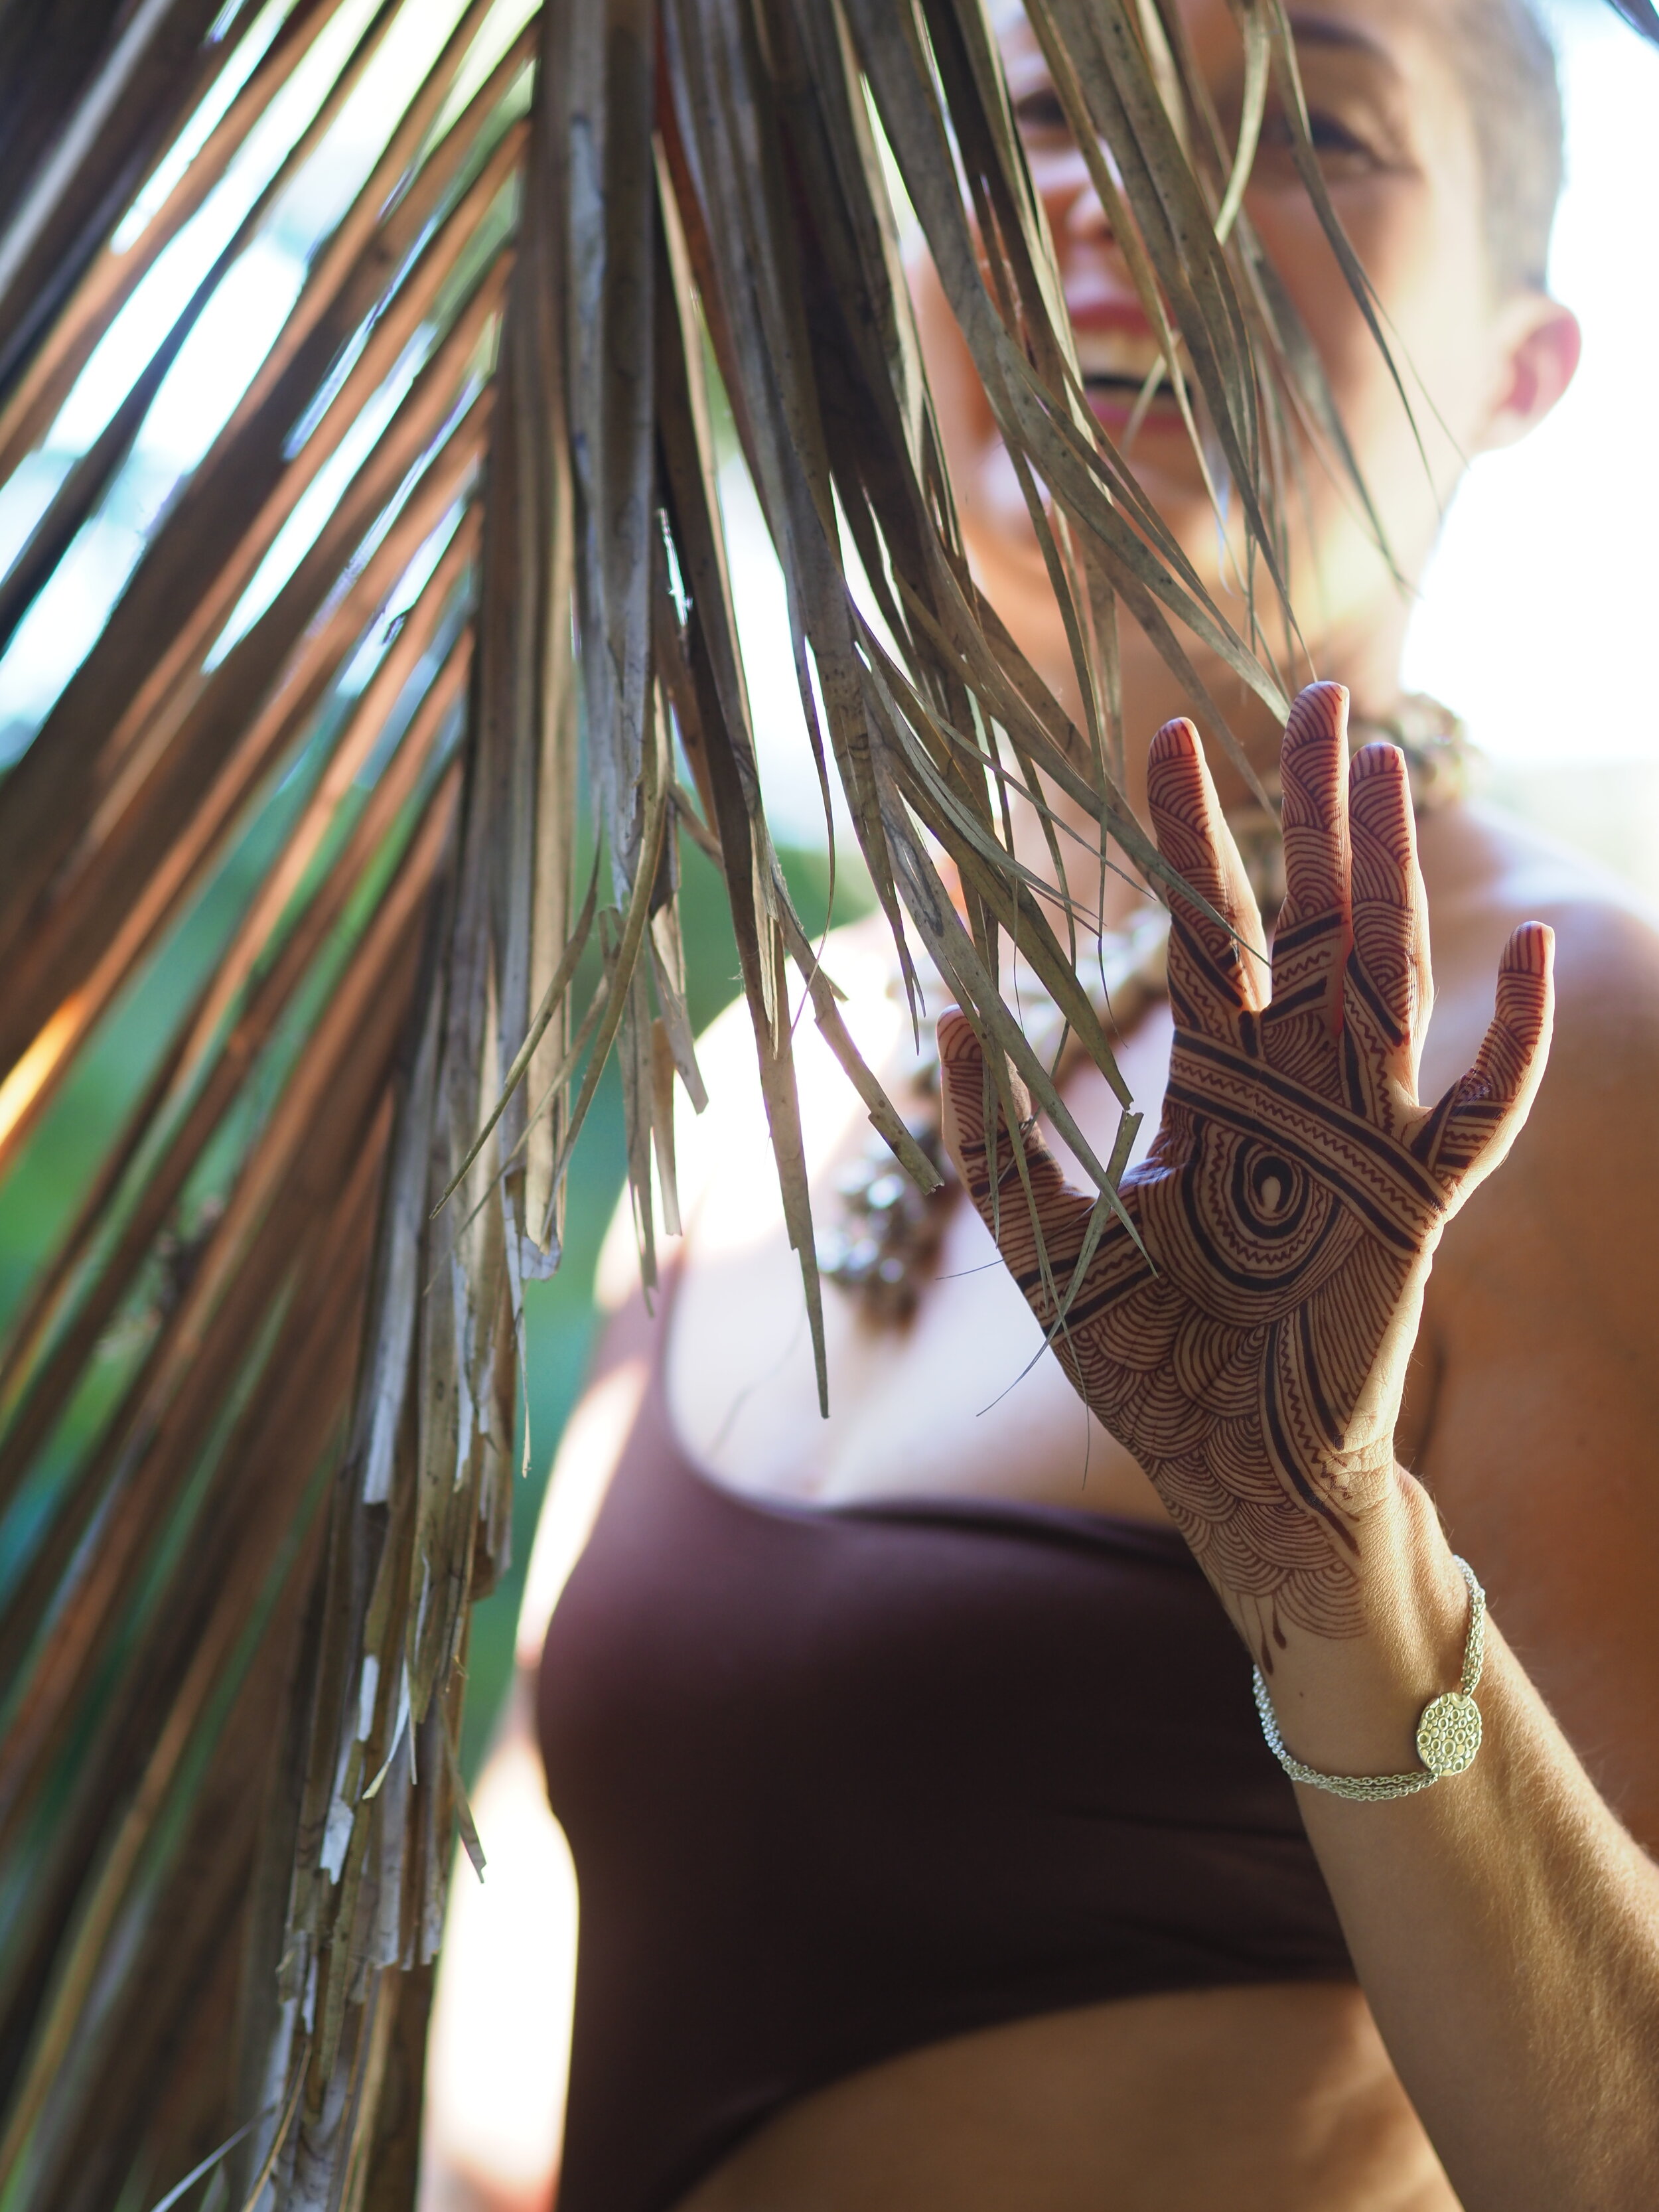
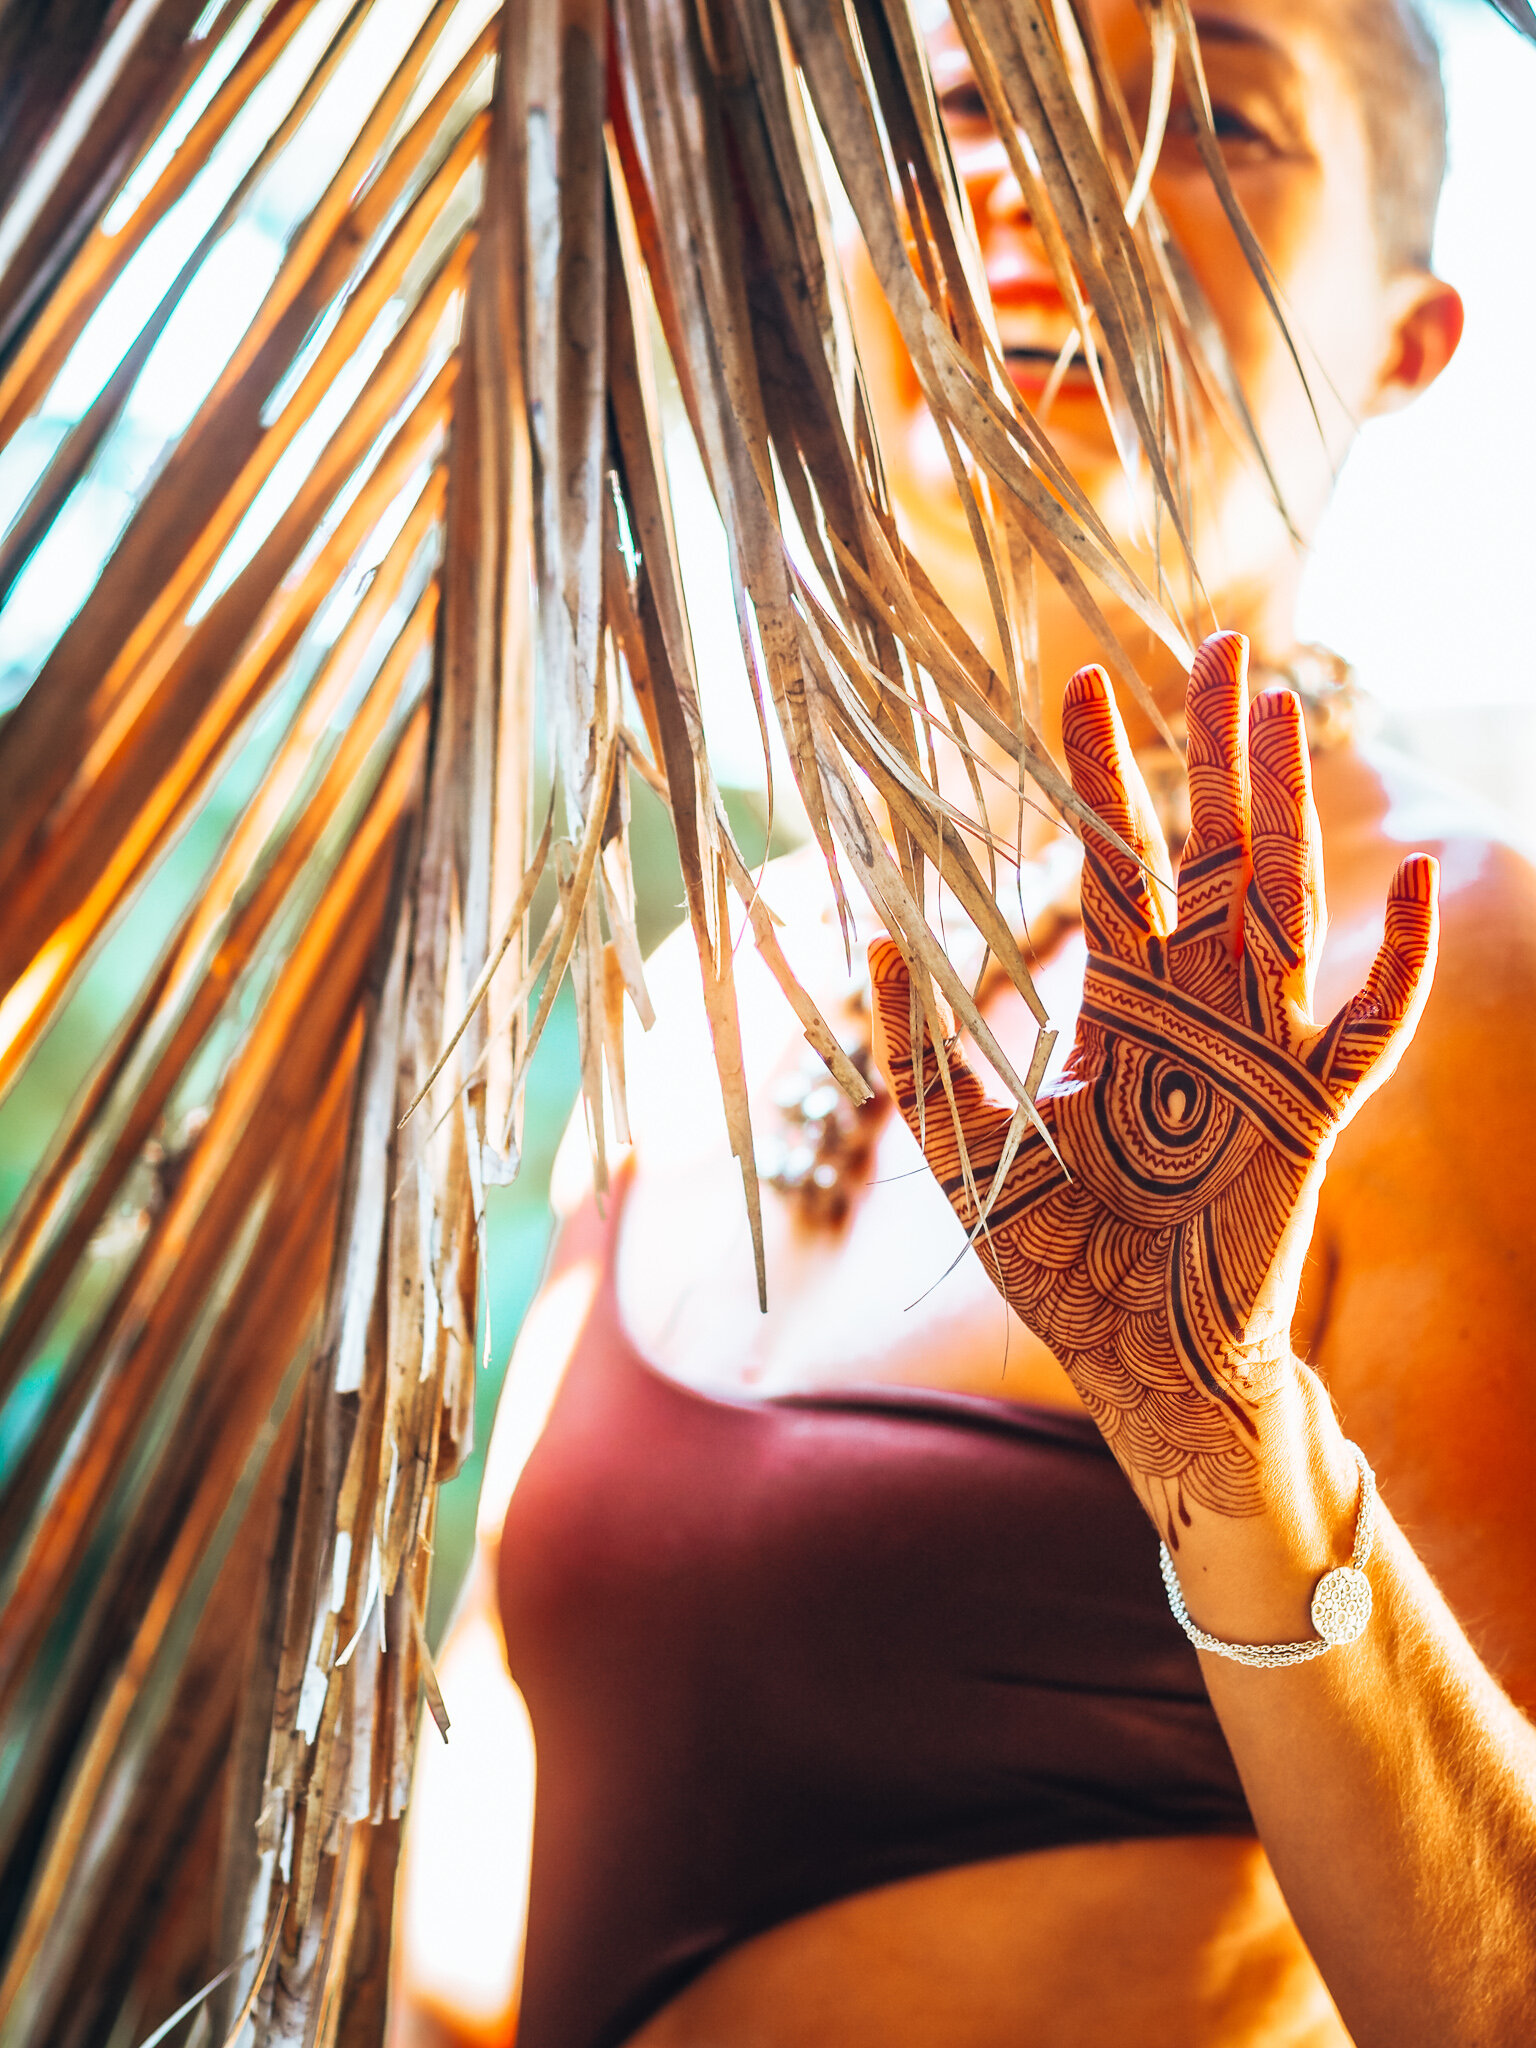
Sometimes we’re trying to make a photo look more like we experienced the scene in the moment, and other times there is a specific mood we’re trying to create. I wanted to create a sunset mood, but I was shooting in mid-day. I set myself up under a shade to avoid harsh light and shadow, then applied the “Golden Hour” filter from the “Motherlode” collection to create a delicious sun-kissed vibe. This also brightened up shaded areas to show the detail of the henna. The best part is, it only takes one click!
While I love a warm and saturated palette, sometimes a more desaturated look can be fun. This vibe is a little more “hipster”, and you can create a really eye-catching Instagram feed if you stick to a desaturated theme. This edit darkened the henna stain more than I intended, so I chose another filter for my post on Instagram, as I like to keep the henna color as true to life as possible. But I love this mood using filter “Desaturated Mood” from the “Stained Life” collection. It enhances textures and adds contrast for a vintage film vibe.
Lastly, some situations require a little TLC to bring out special features of an image. Water can be notoriously difficult to photograph, so I have several filters especially for water, including “Mermaid” from the “Motherlode” collection. I love some bright blues to bring a vacation vibration to my images, and have no qualms about turning up the turquoise.
So there we have it, 6 great ways to use filters. Remember, if you’re purchasing my presets, each collection contains 10 filters, and the aptly named Motherlode collection contains 20 (if you can only afford one collection, this one has a little bit of everything). Be sure to tag #hennaloungepresets on Instagram for a chance to have your photo featured in my Stories!